IDCS Fusion Apps Integration
Step-by-step guide
-
Download IDCS Metadata to a local XML file
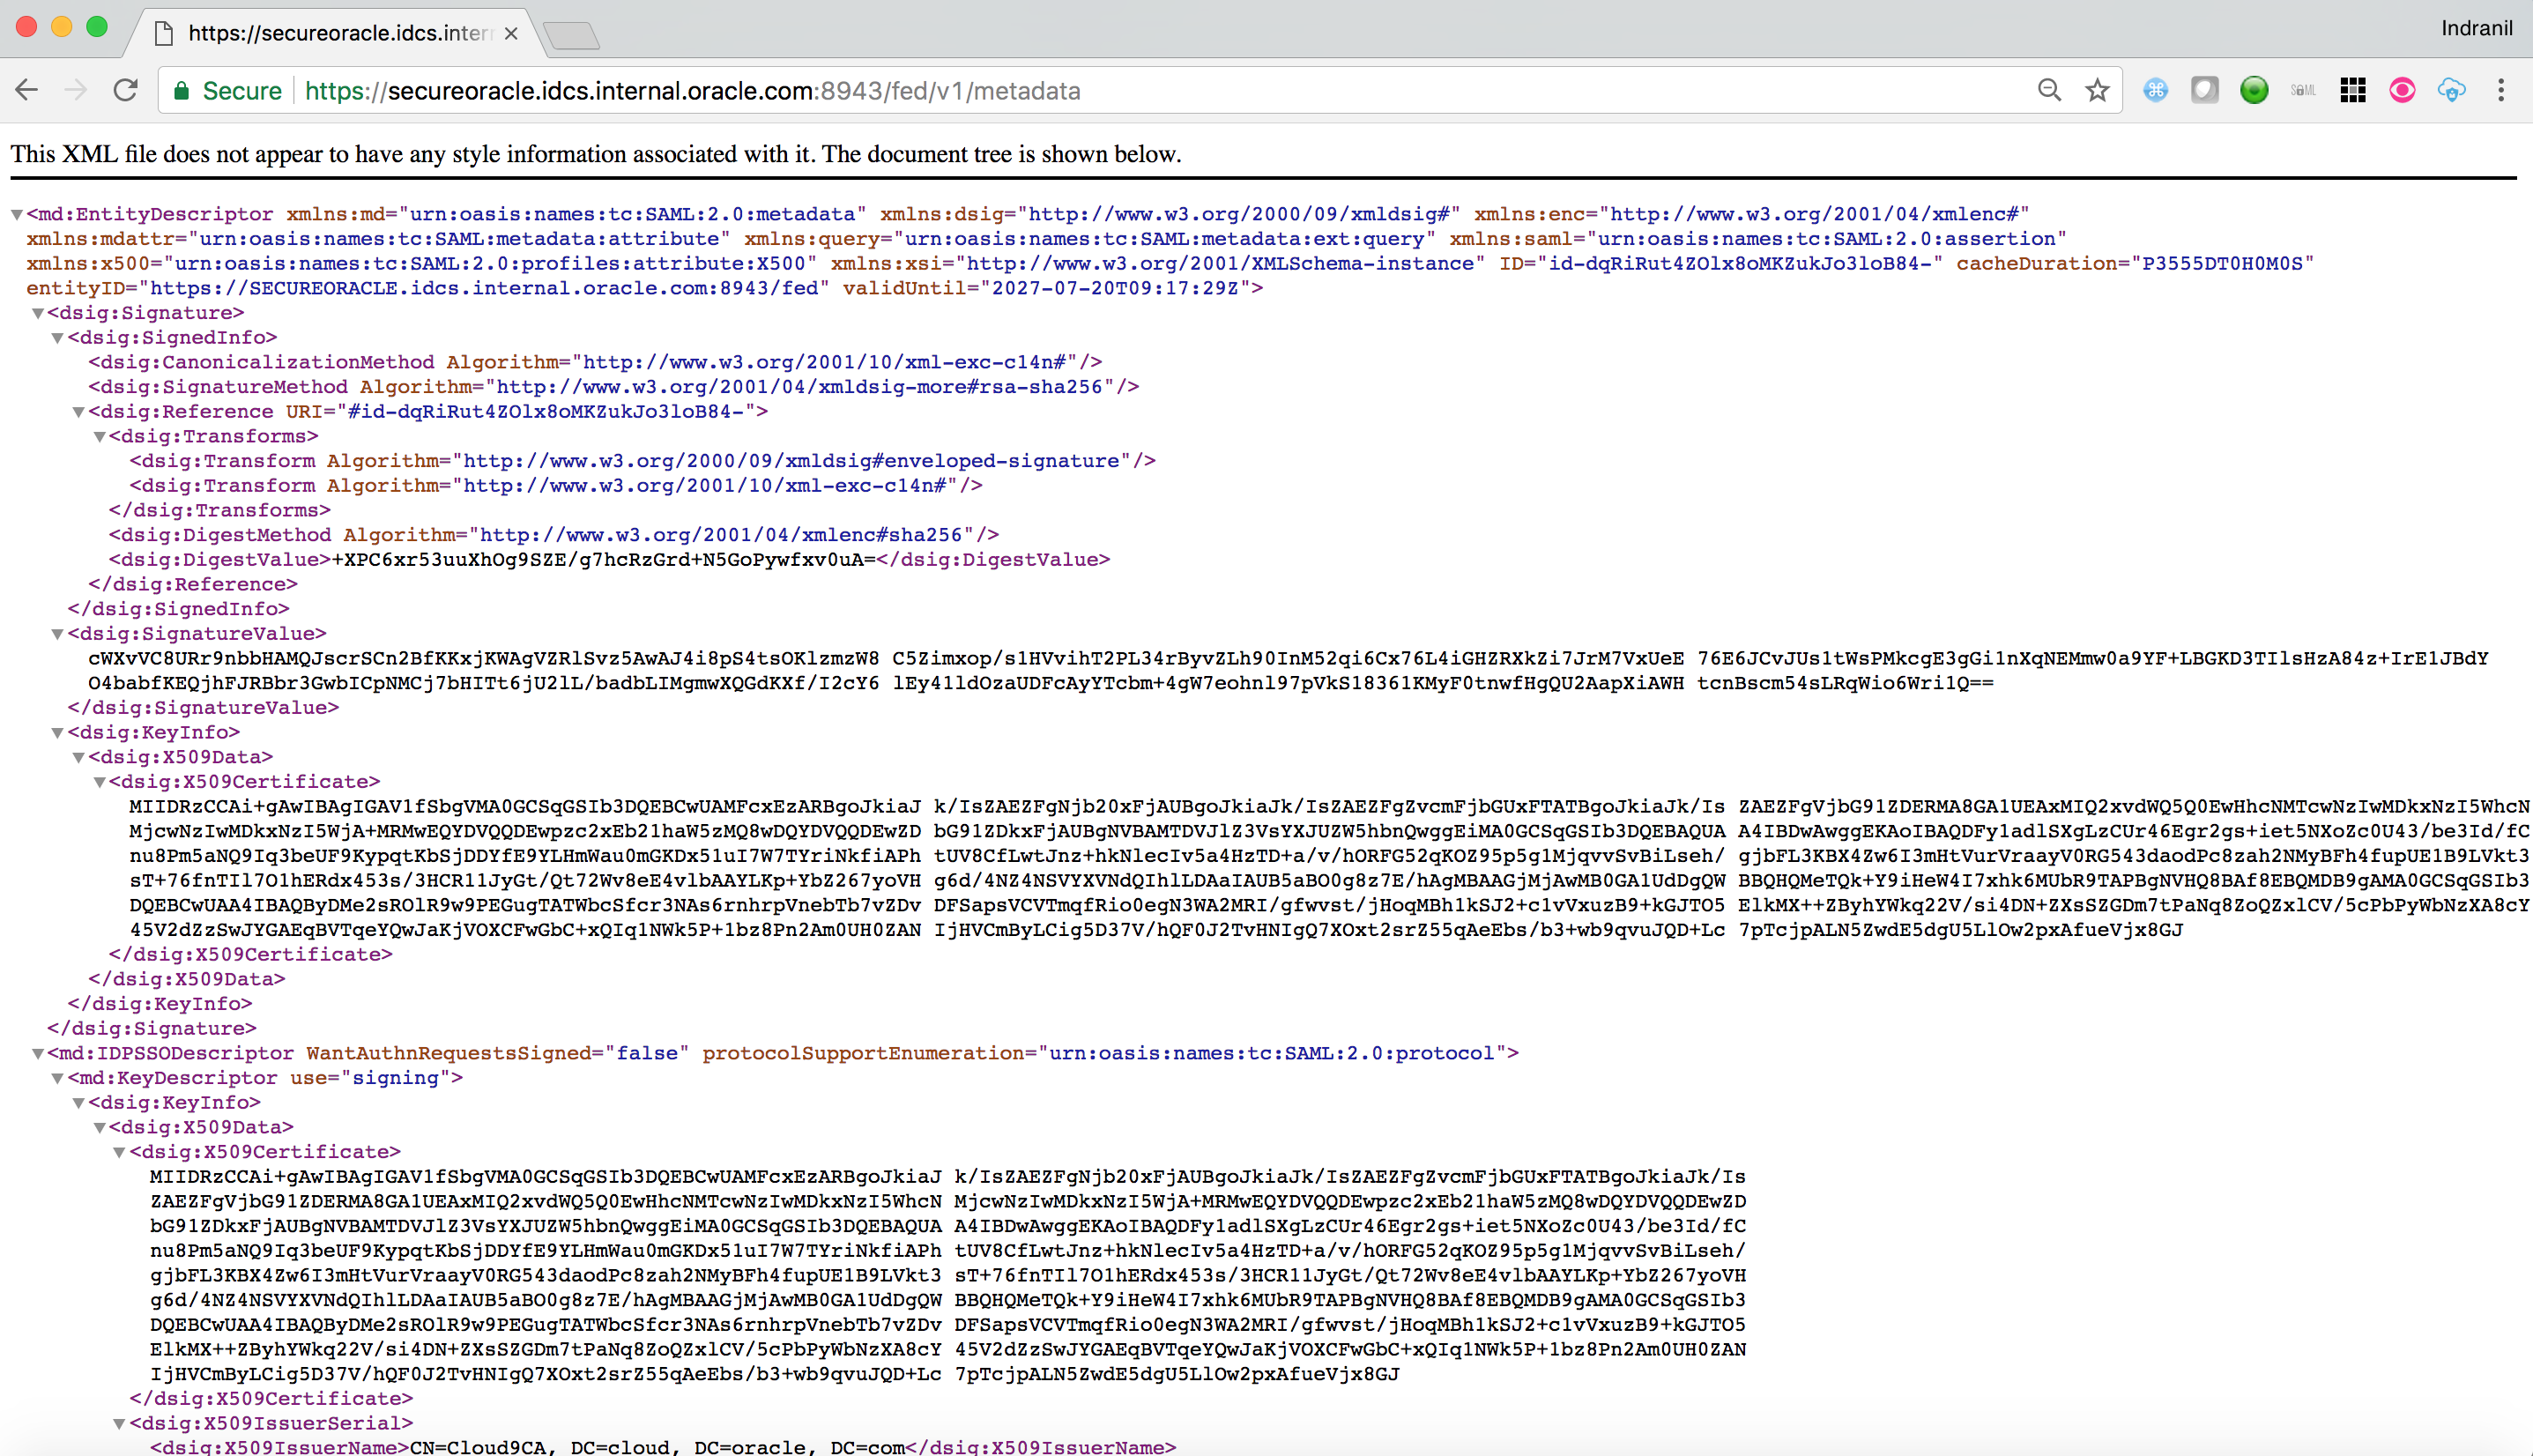
Note: Step 2-10 need to be executed to enable federated SSO with Fusion Apps. If executed against a customer environment, these steps need to be carried out by Oracle Support.
-
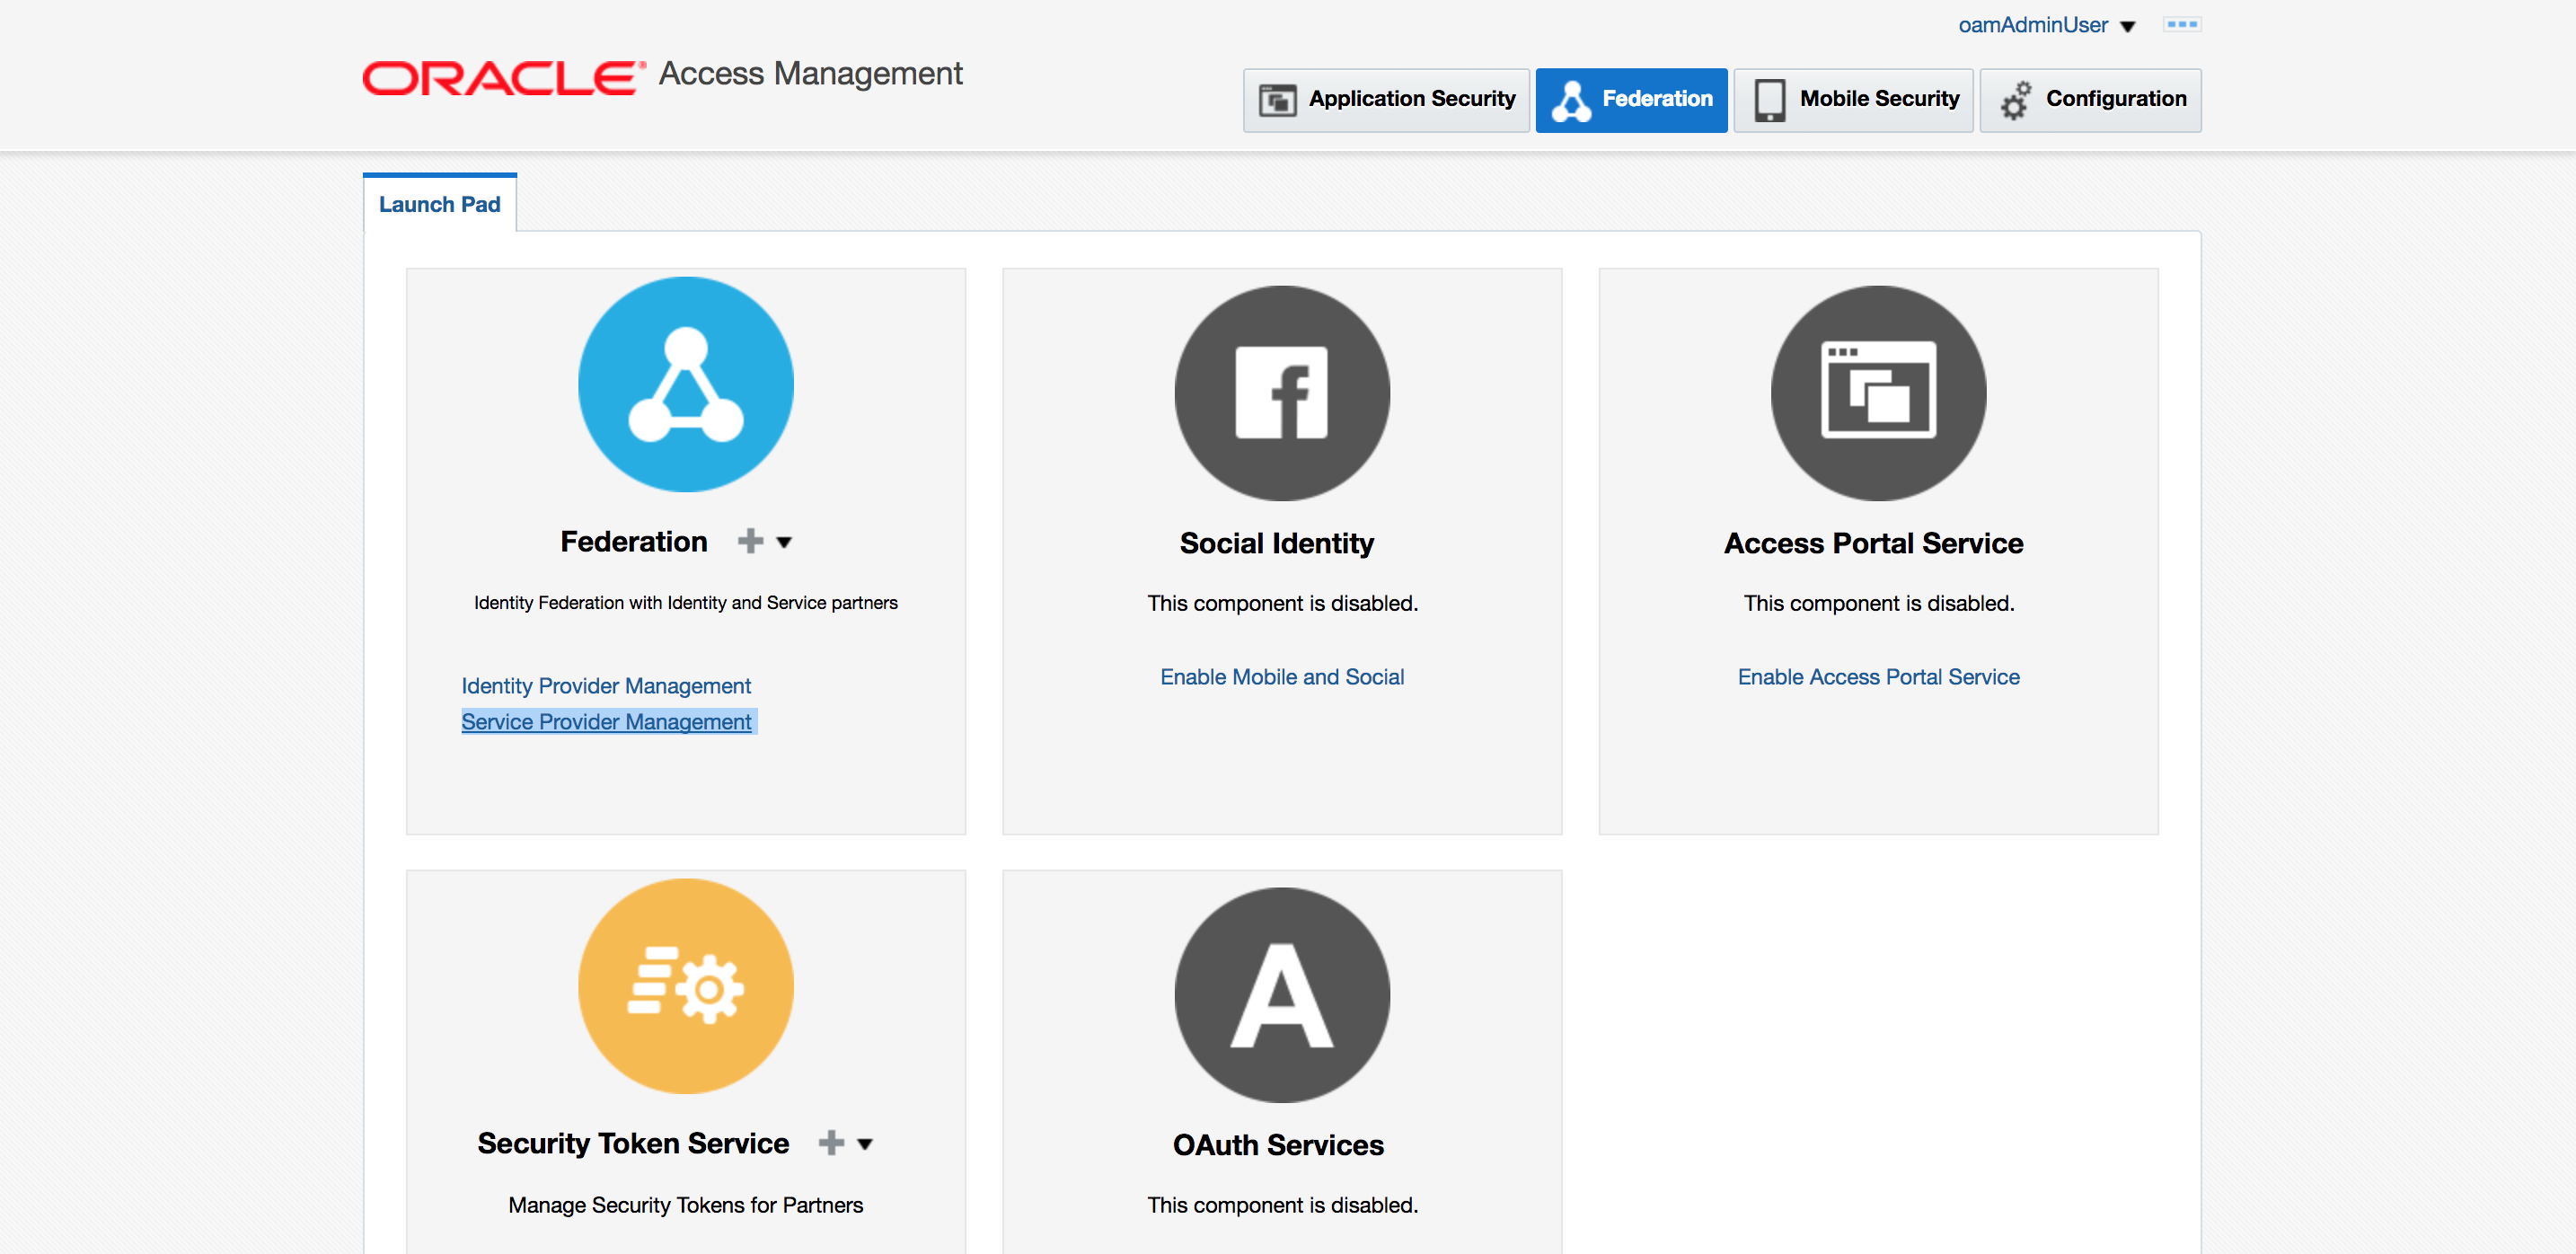
Login to internal OAM Console (part of SIM) of the FA environment with OAM admin credential
-
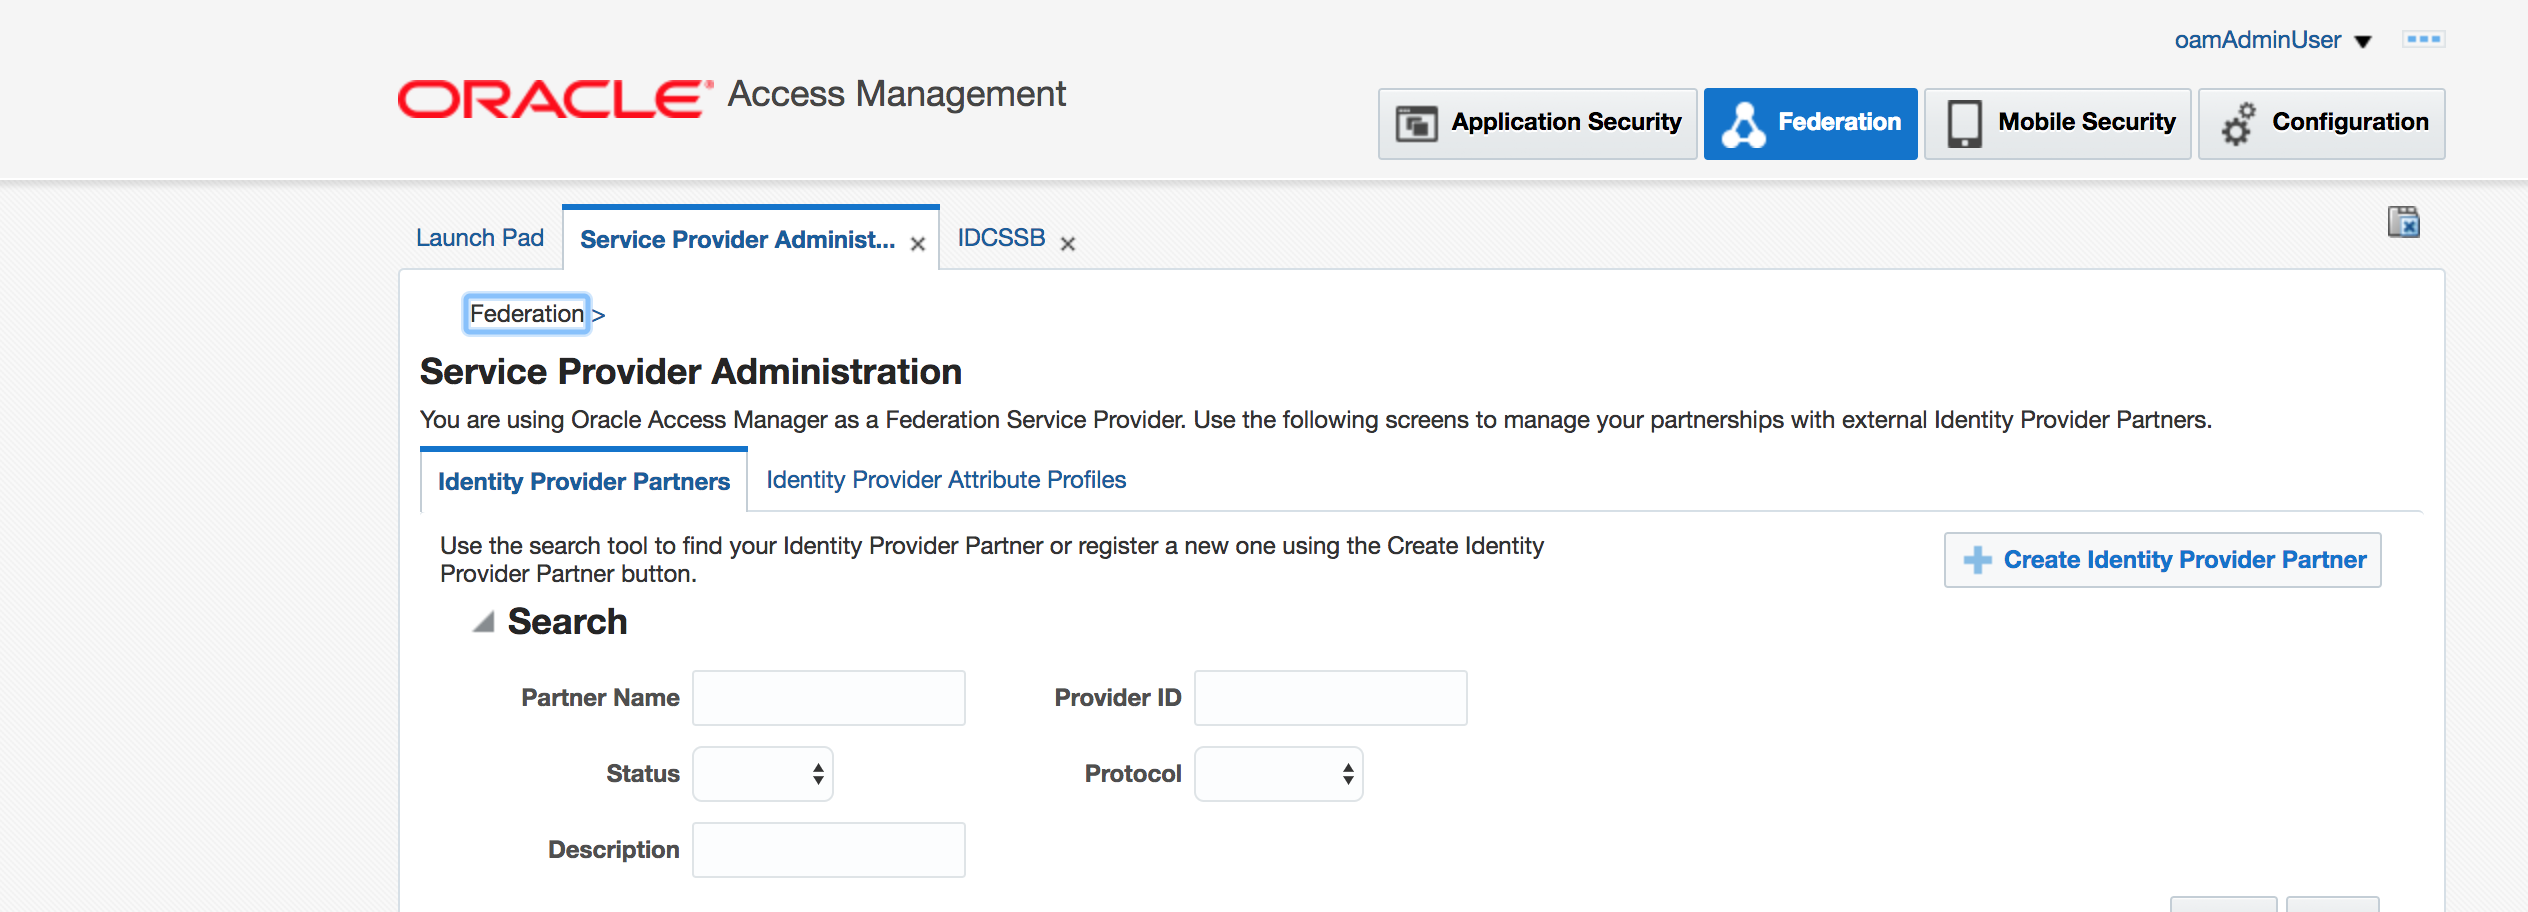
Go to the Federation tab inside OAM Console. Click on Service Provider Management link
-
Click on Create Identity Provider Partner button
-
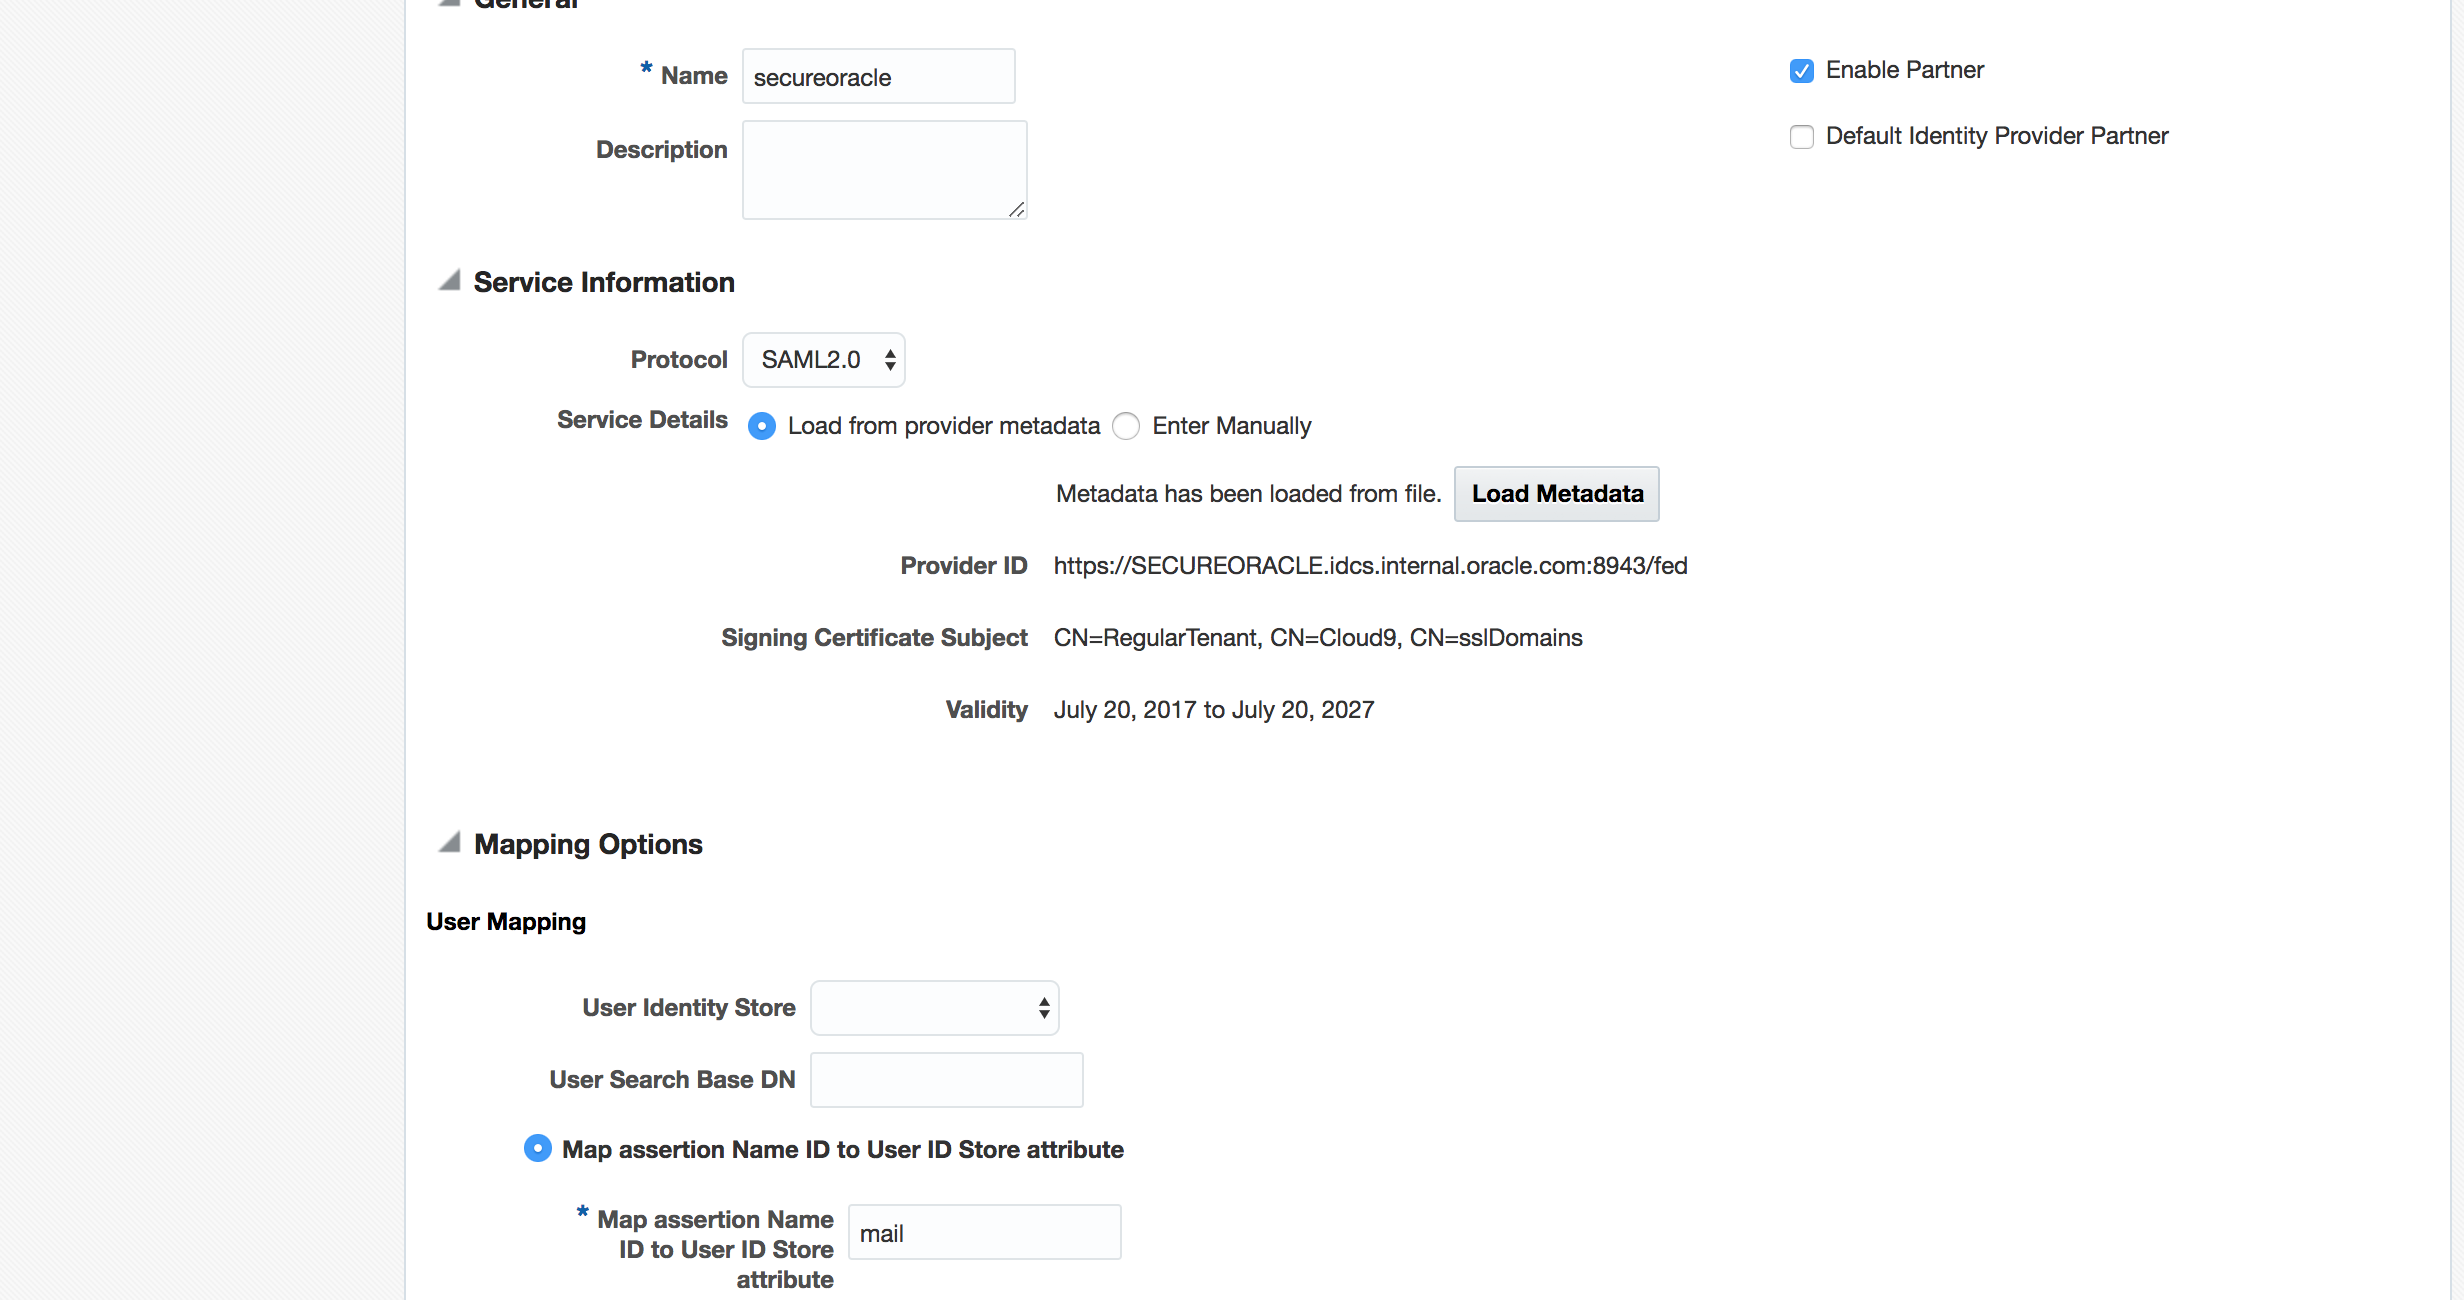
Select Load from provider metadata and choose the locally saved IDCS metadata file.
-
Provide a name of the IdP partner

-
Ensure User Mapping attribute is set to mail
-
Save the configuration
-
Obtain the Entity ID from the Federation SP metadata for SIM from Oracle Support. Typically it is of the form - https://{Tenant}-idm.{Domain}/fed
-
Obtain the SP metadata Signing Certificate for SIM from Oracle Support.
> If you have access to SIM, you can build the certificate from the metadata. The metadata is avialble from - [https://{Tenant}-idm.{Domain}/fed/sp/metadata](). Once you have the metadata, you can create the certificate file manually using the value of **<X509Certificate>** tag inside the metadata.
-
Go to IDCS Admin console -> Applications tab
-
Click on Add button and select App Catalog
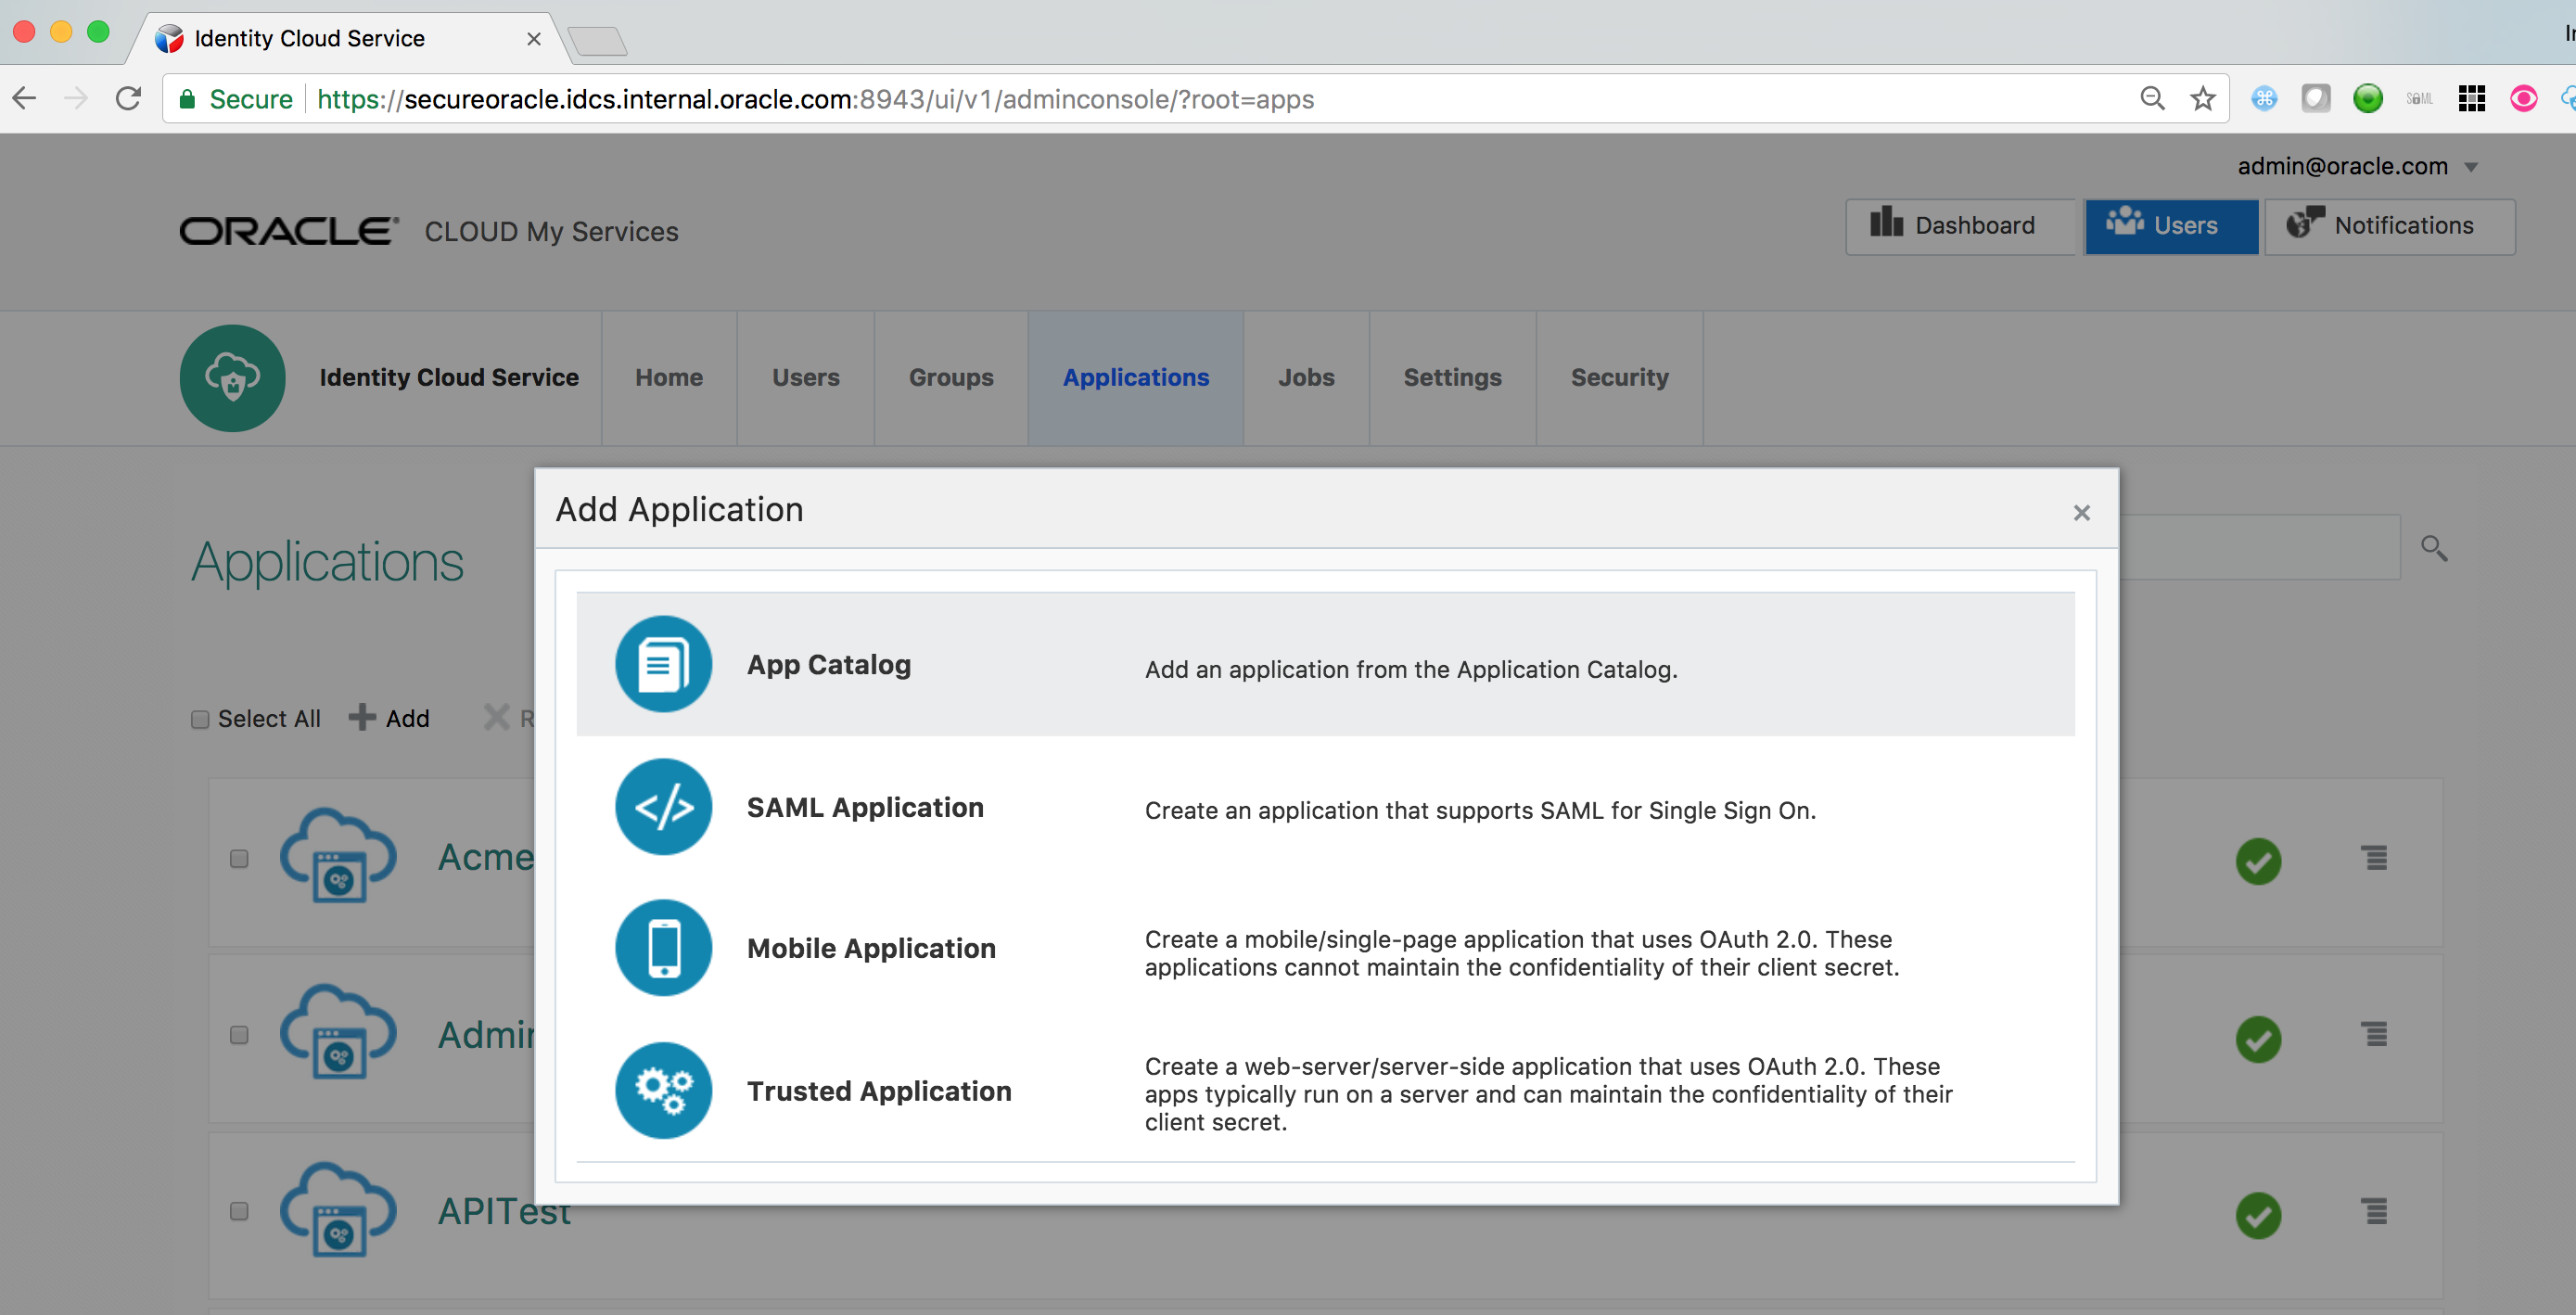
-
Search for Oracle Fusion Applications Prov App and Add

-
On the first page of Configuration screen provide the Tenant Name and Domain Name values for your Fusion App environment.
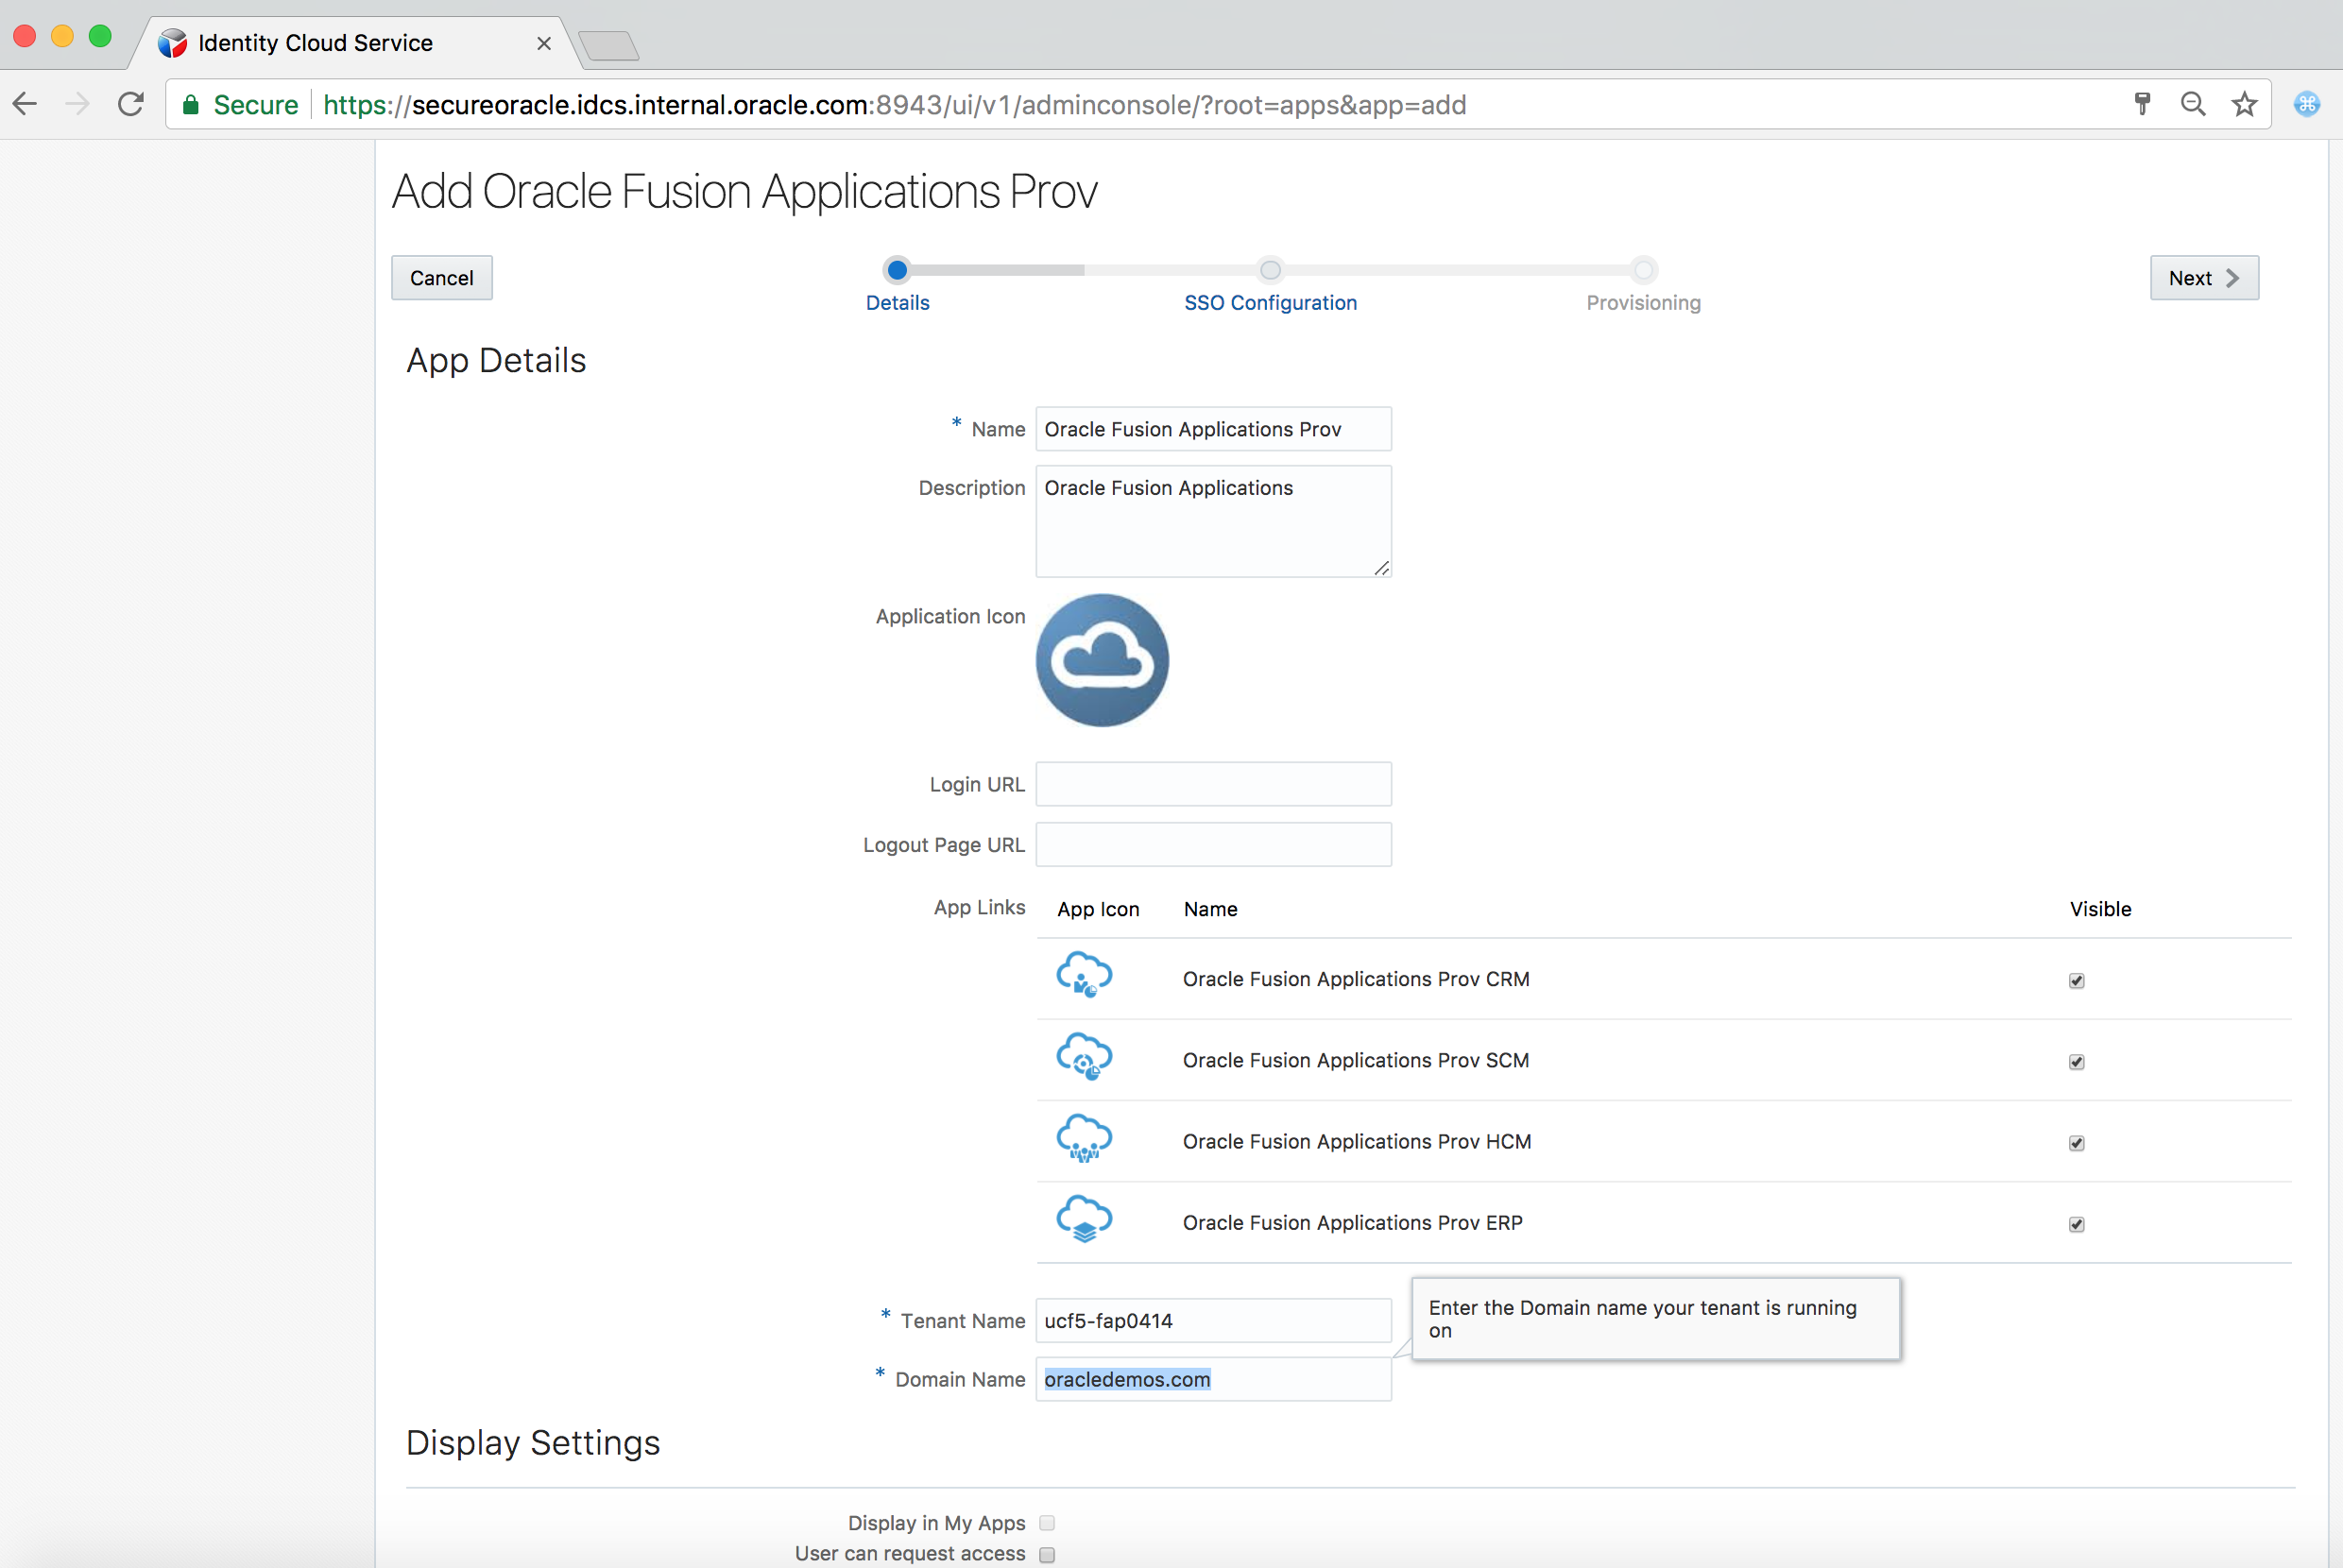
-
Click on Next
-
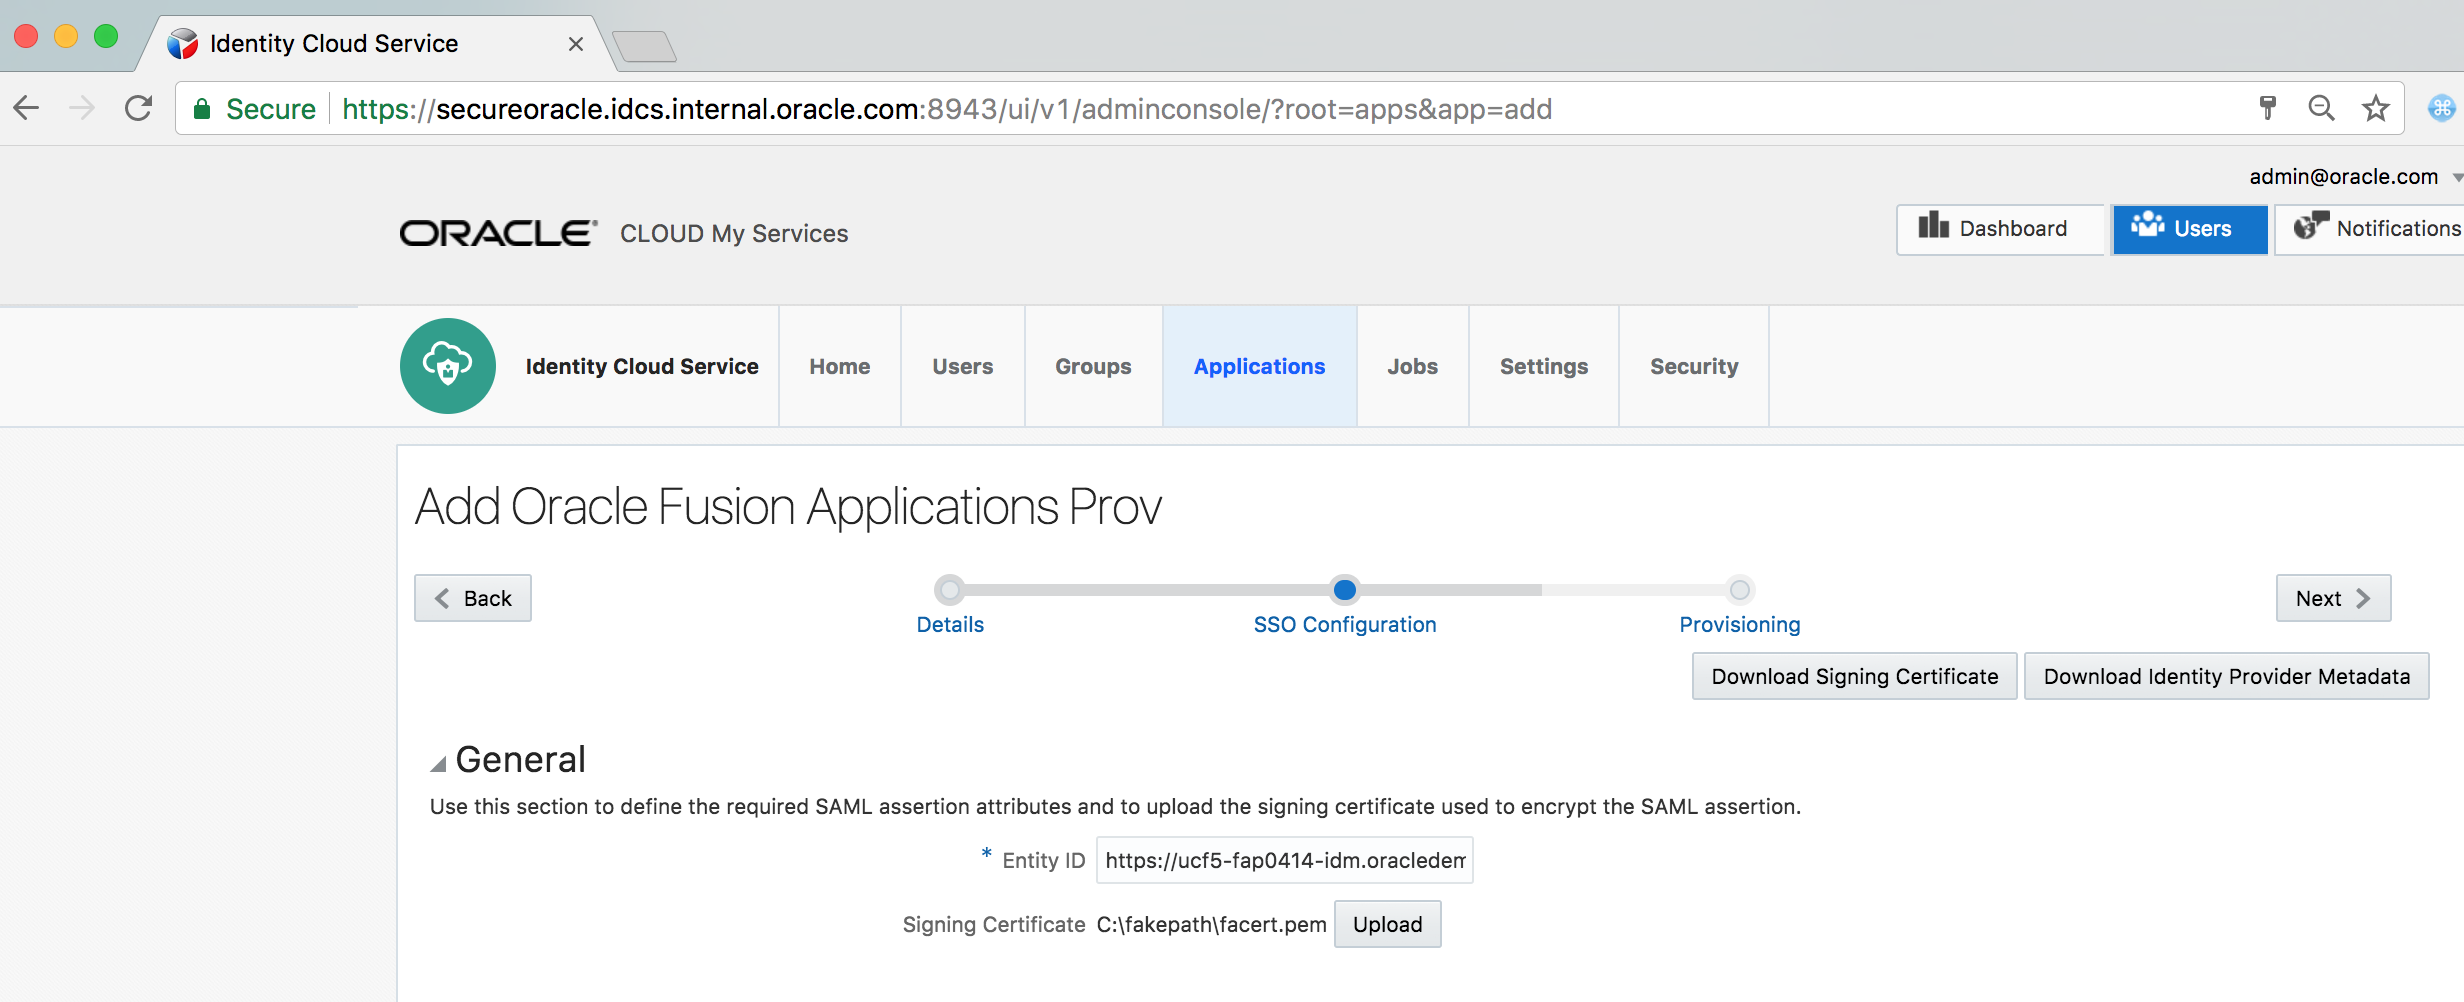
Provide the noted Entity ID value. Upload the Signing Certificate previously saved.
-
Click on Next
-
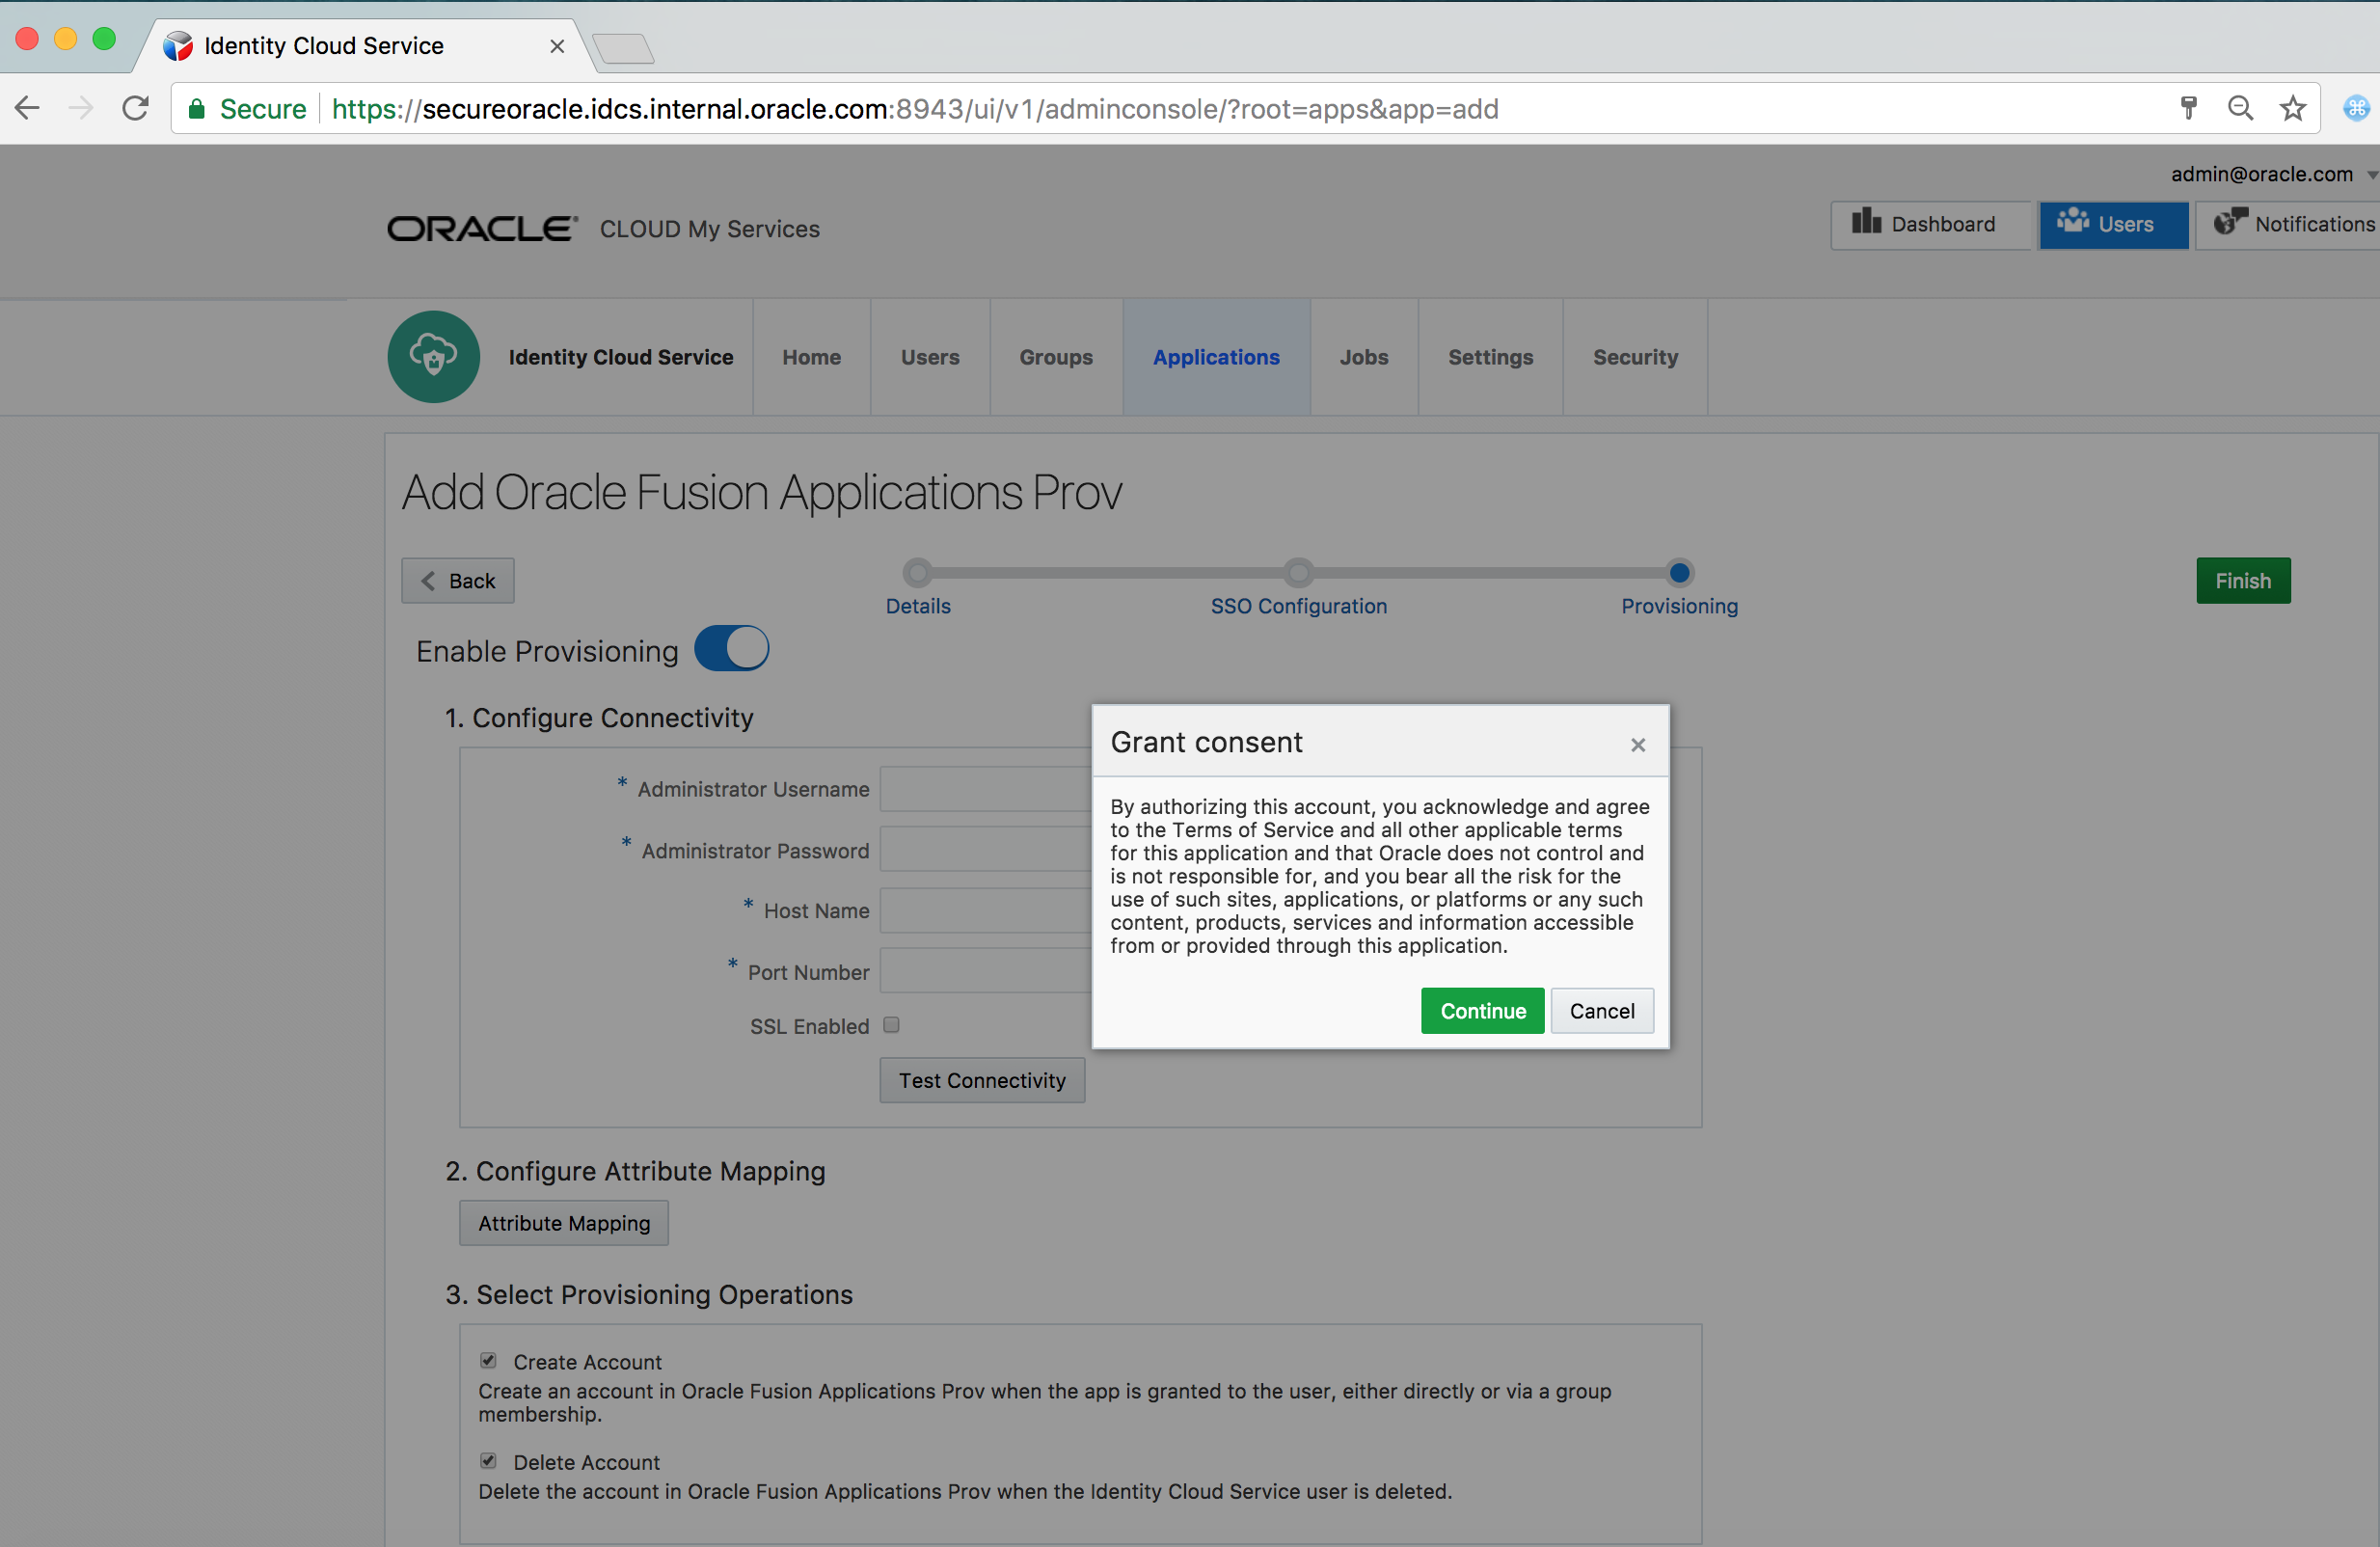
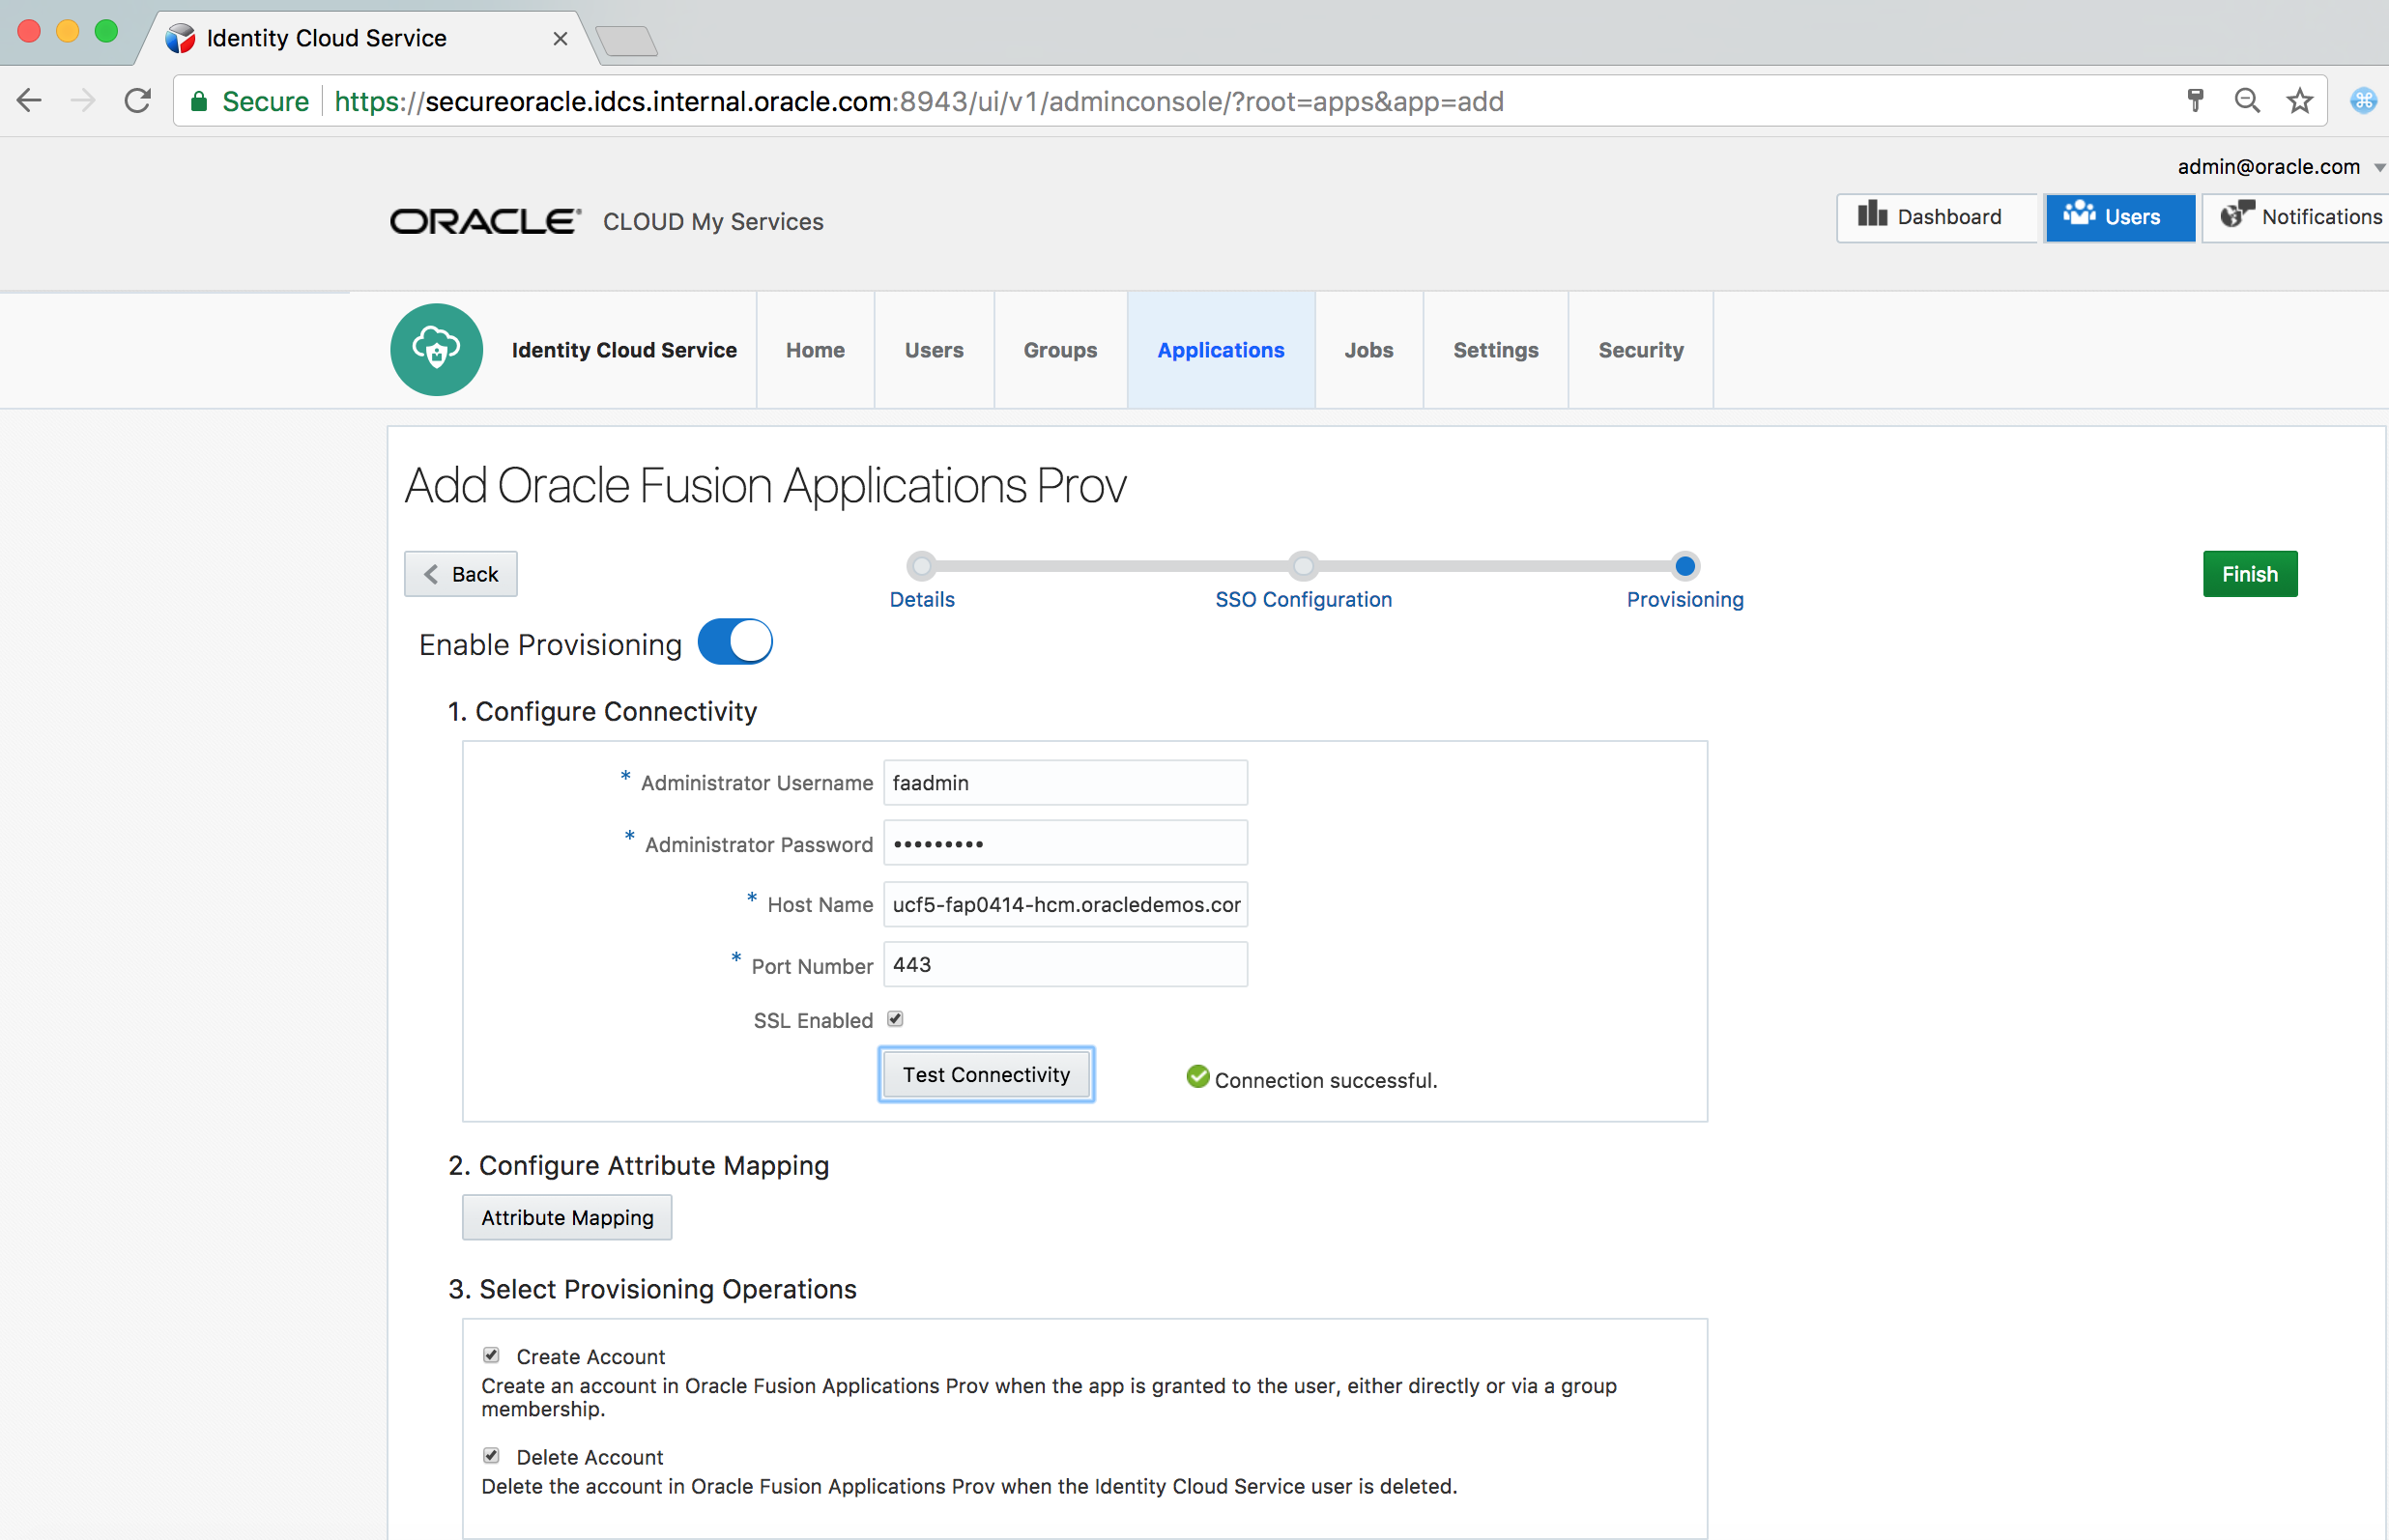
Switch on the Enable Provisioning slider
-
Provide Administrator Username, Password, FA Env Hostname for REST API (Format - <tenant>-hcm.<domain>) and port number (443). Also select SSL Enabled checkbox.
-
Test the connectivity
-
Switch on the Enable Synchronization slider
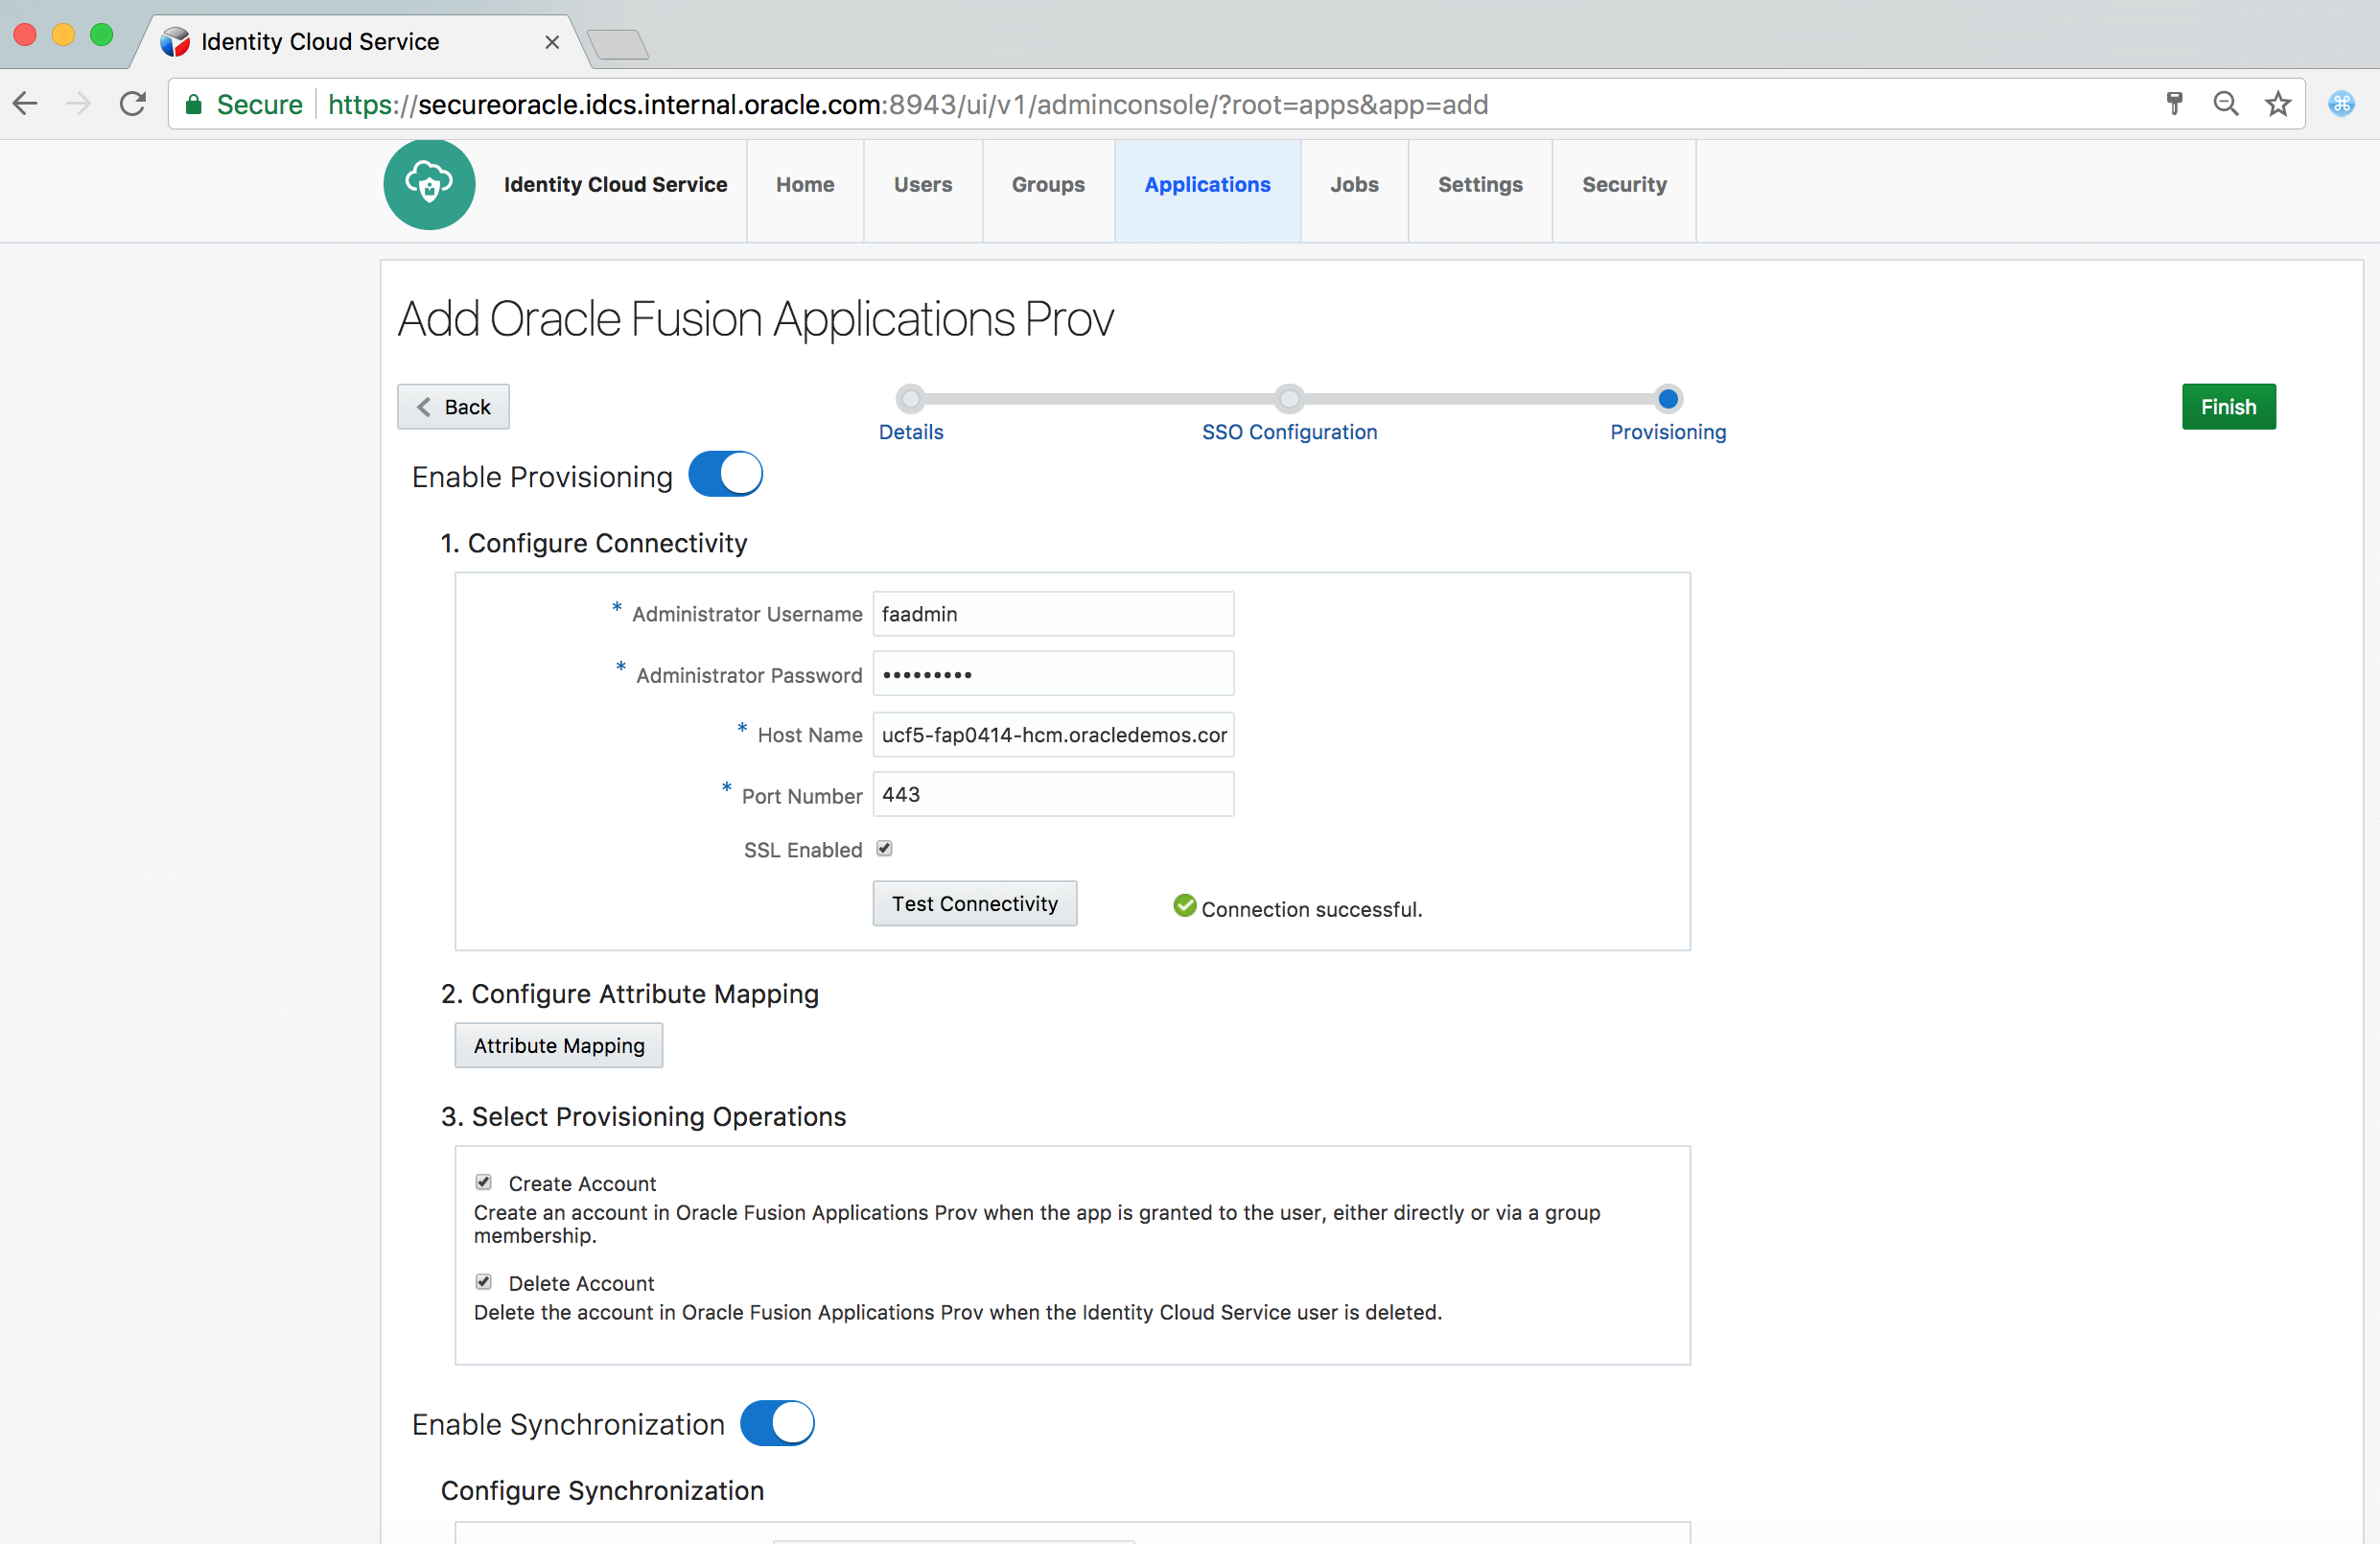
-
Click on Finish button
-
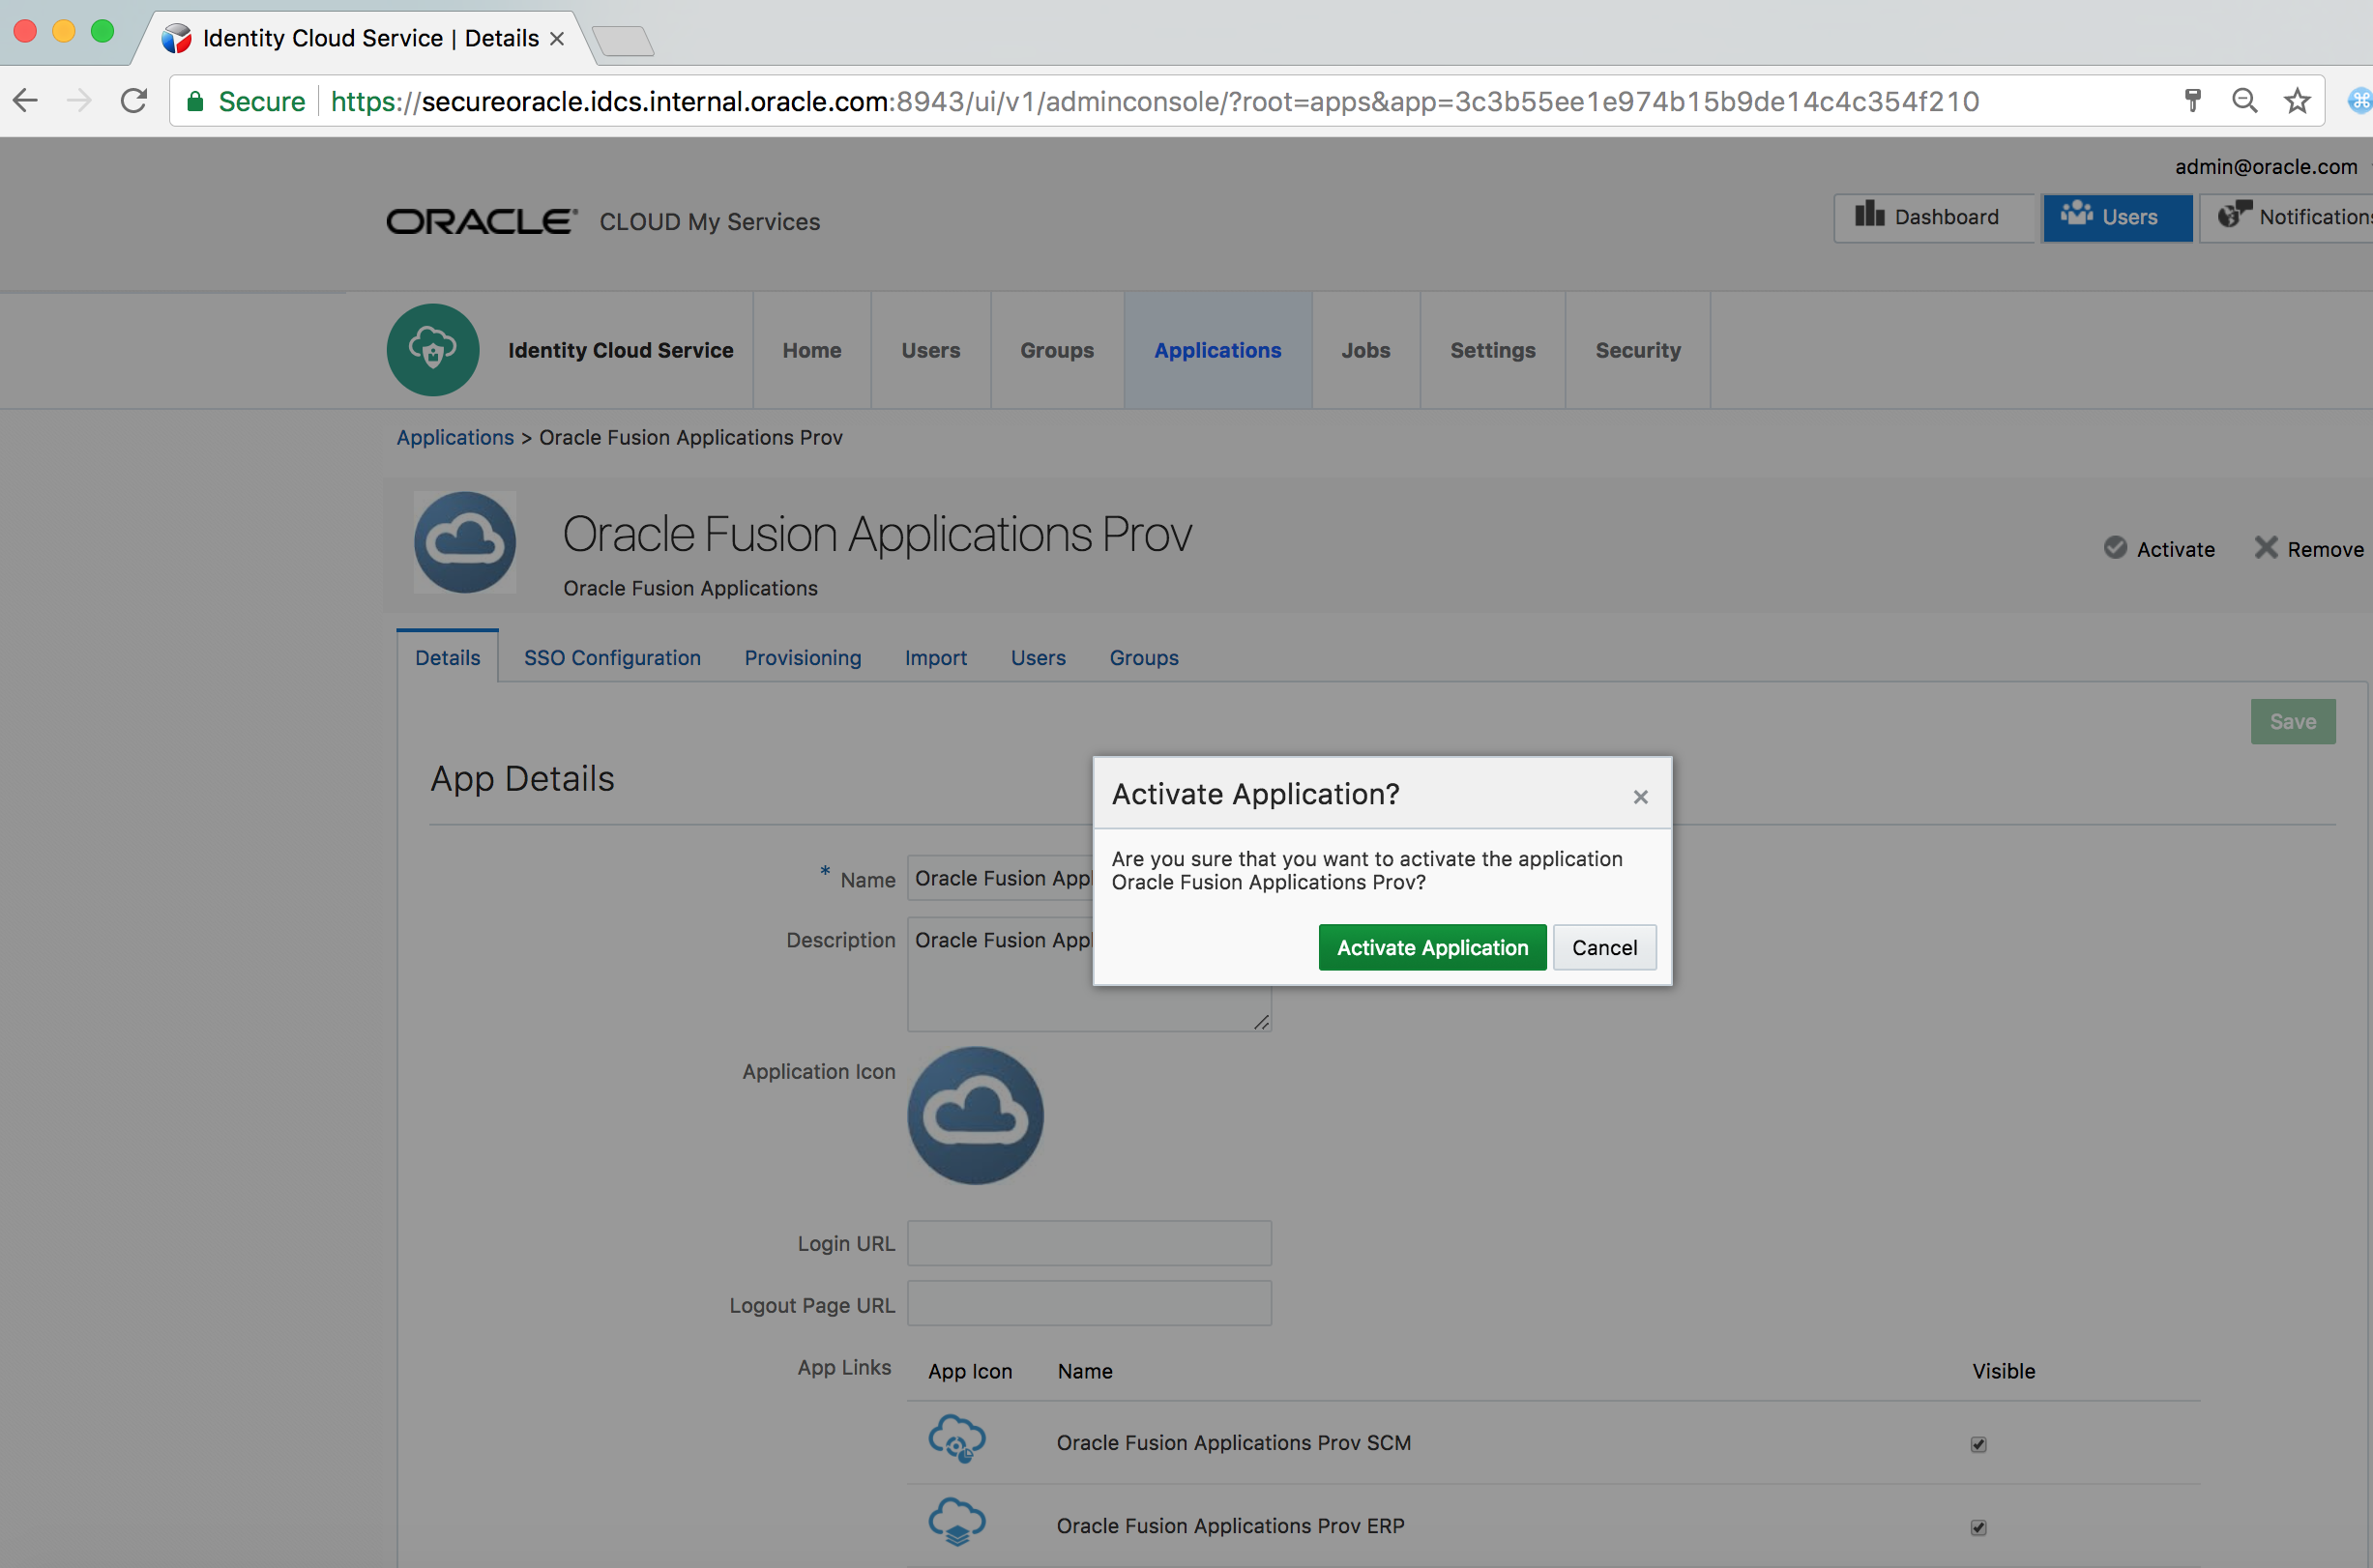
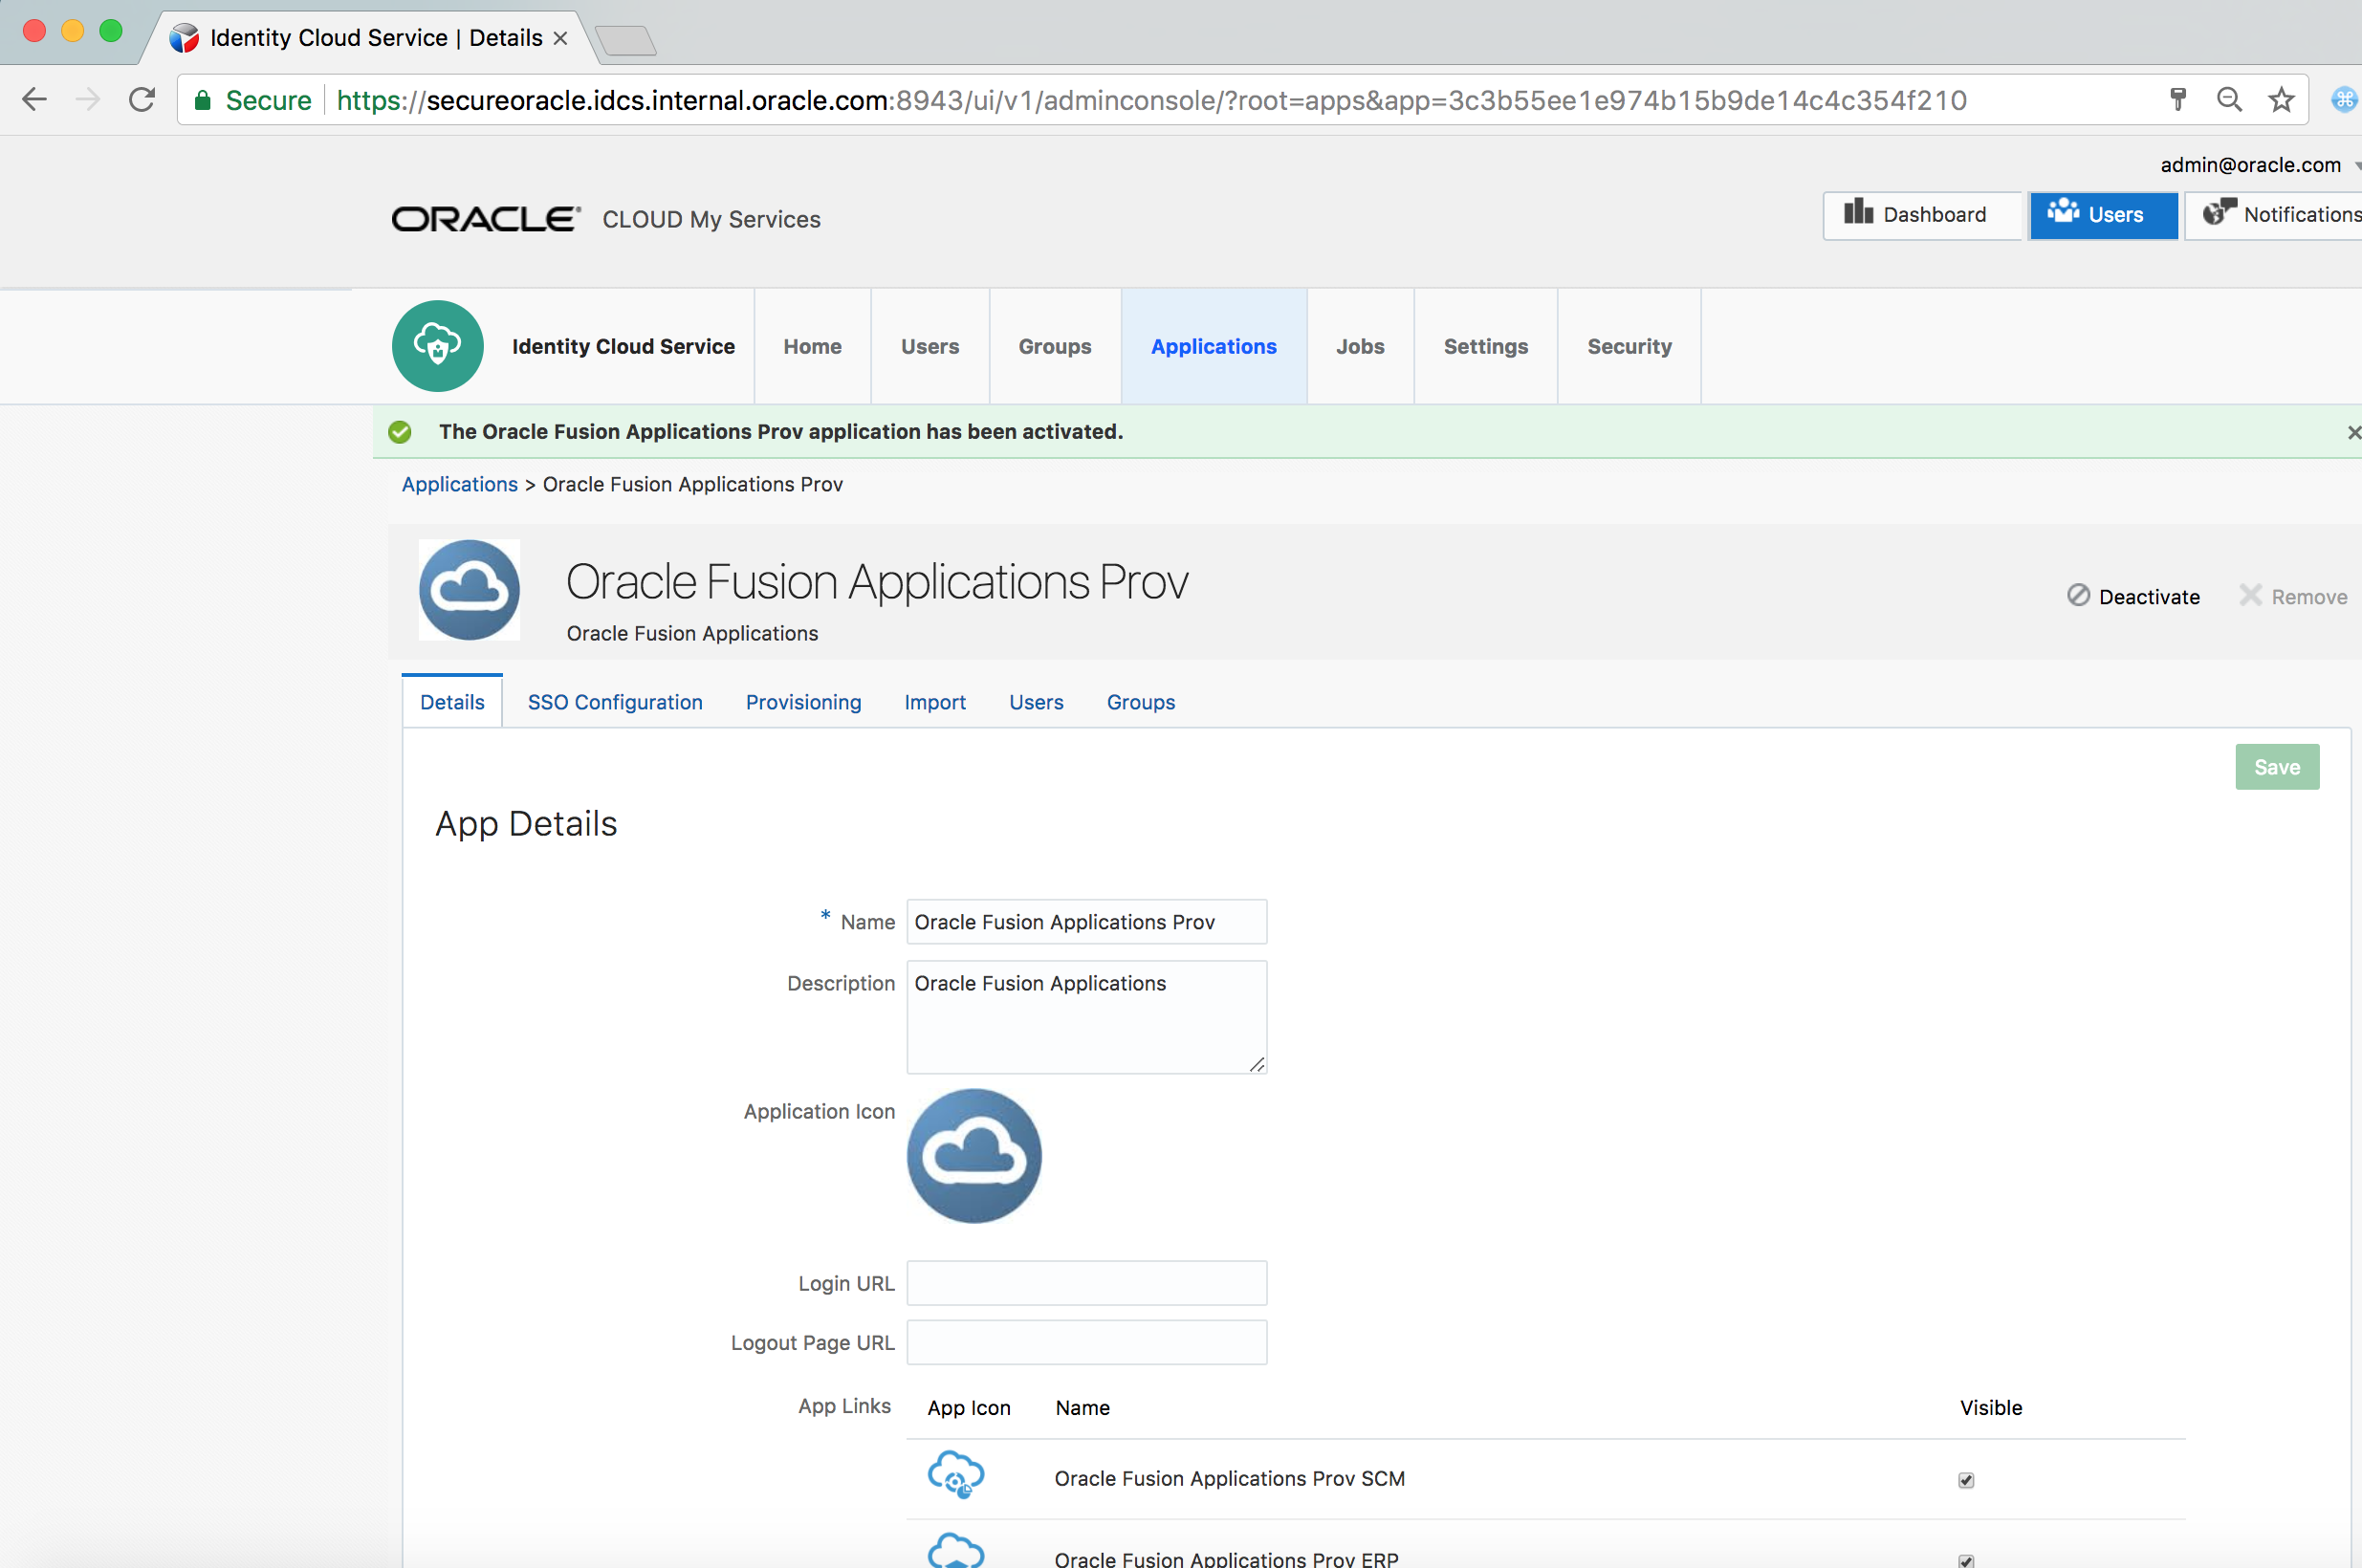
Activate the application
-
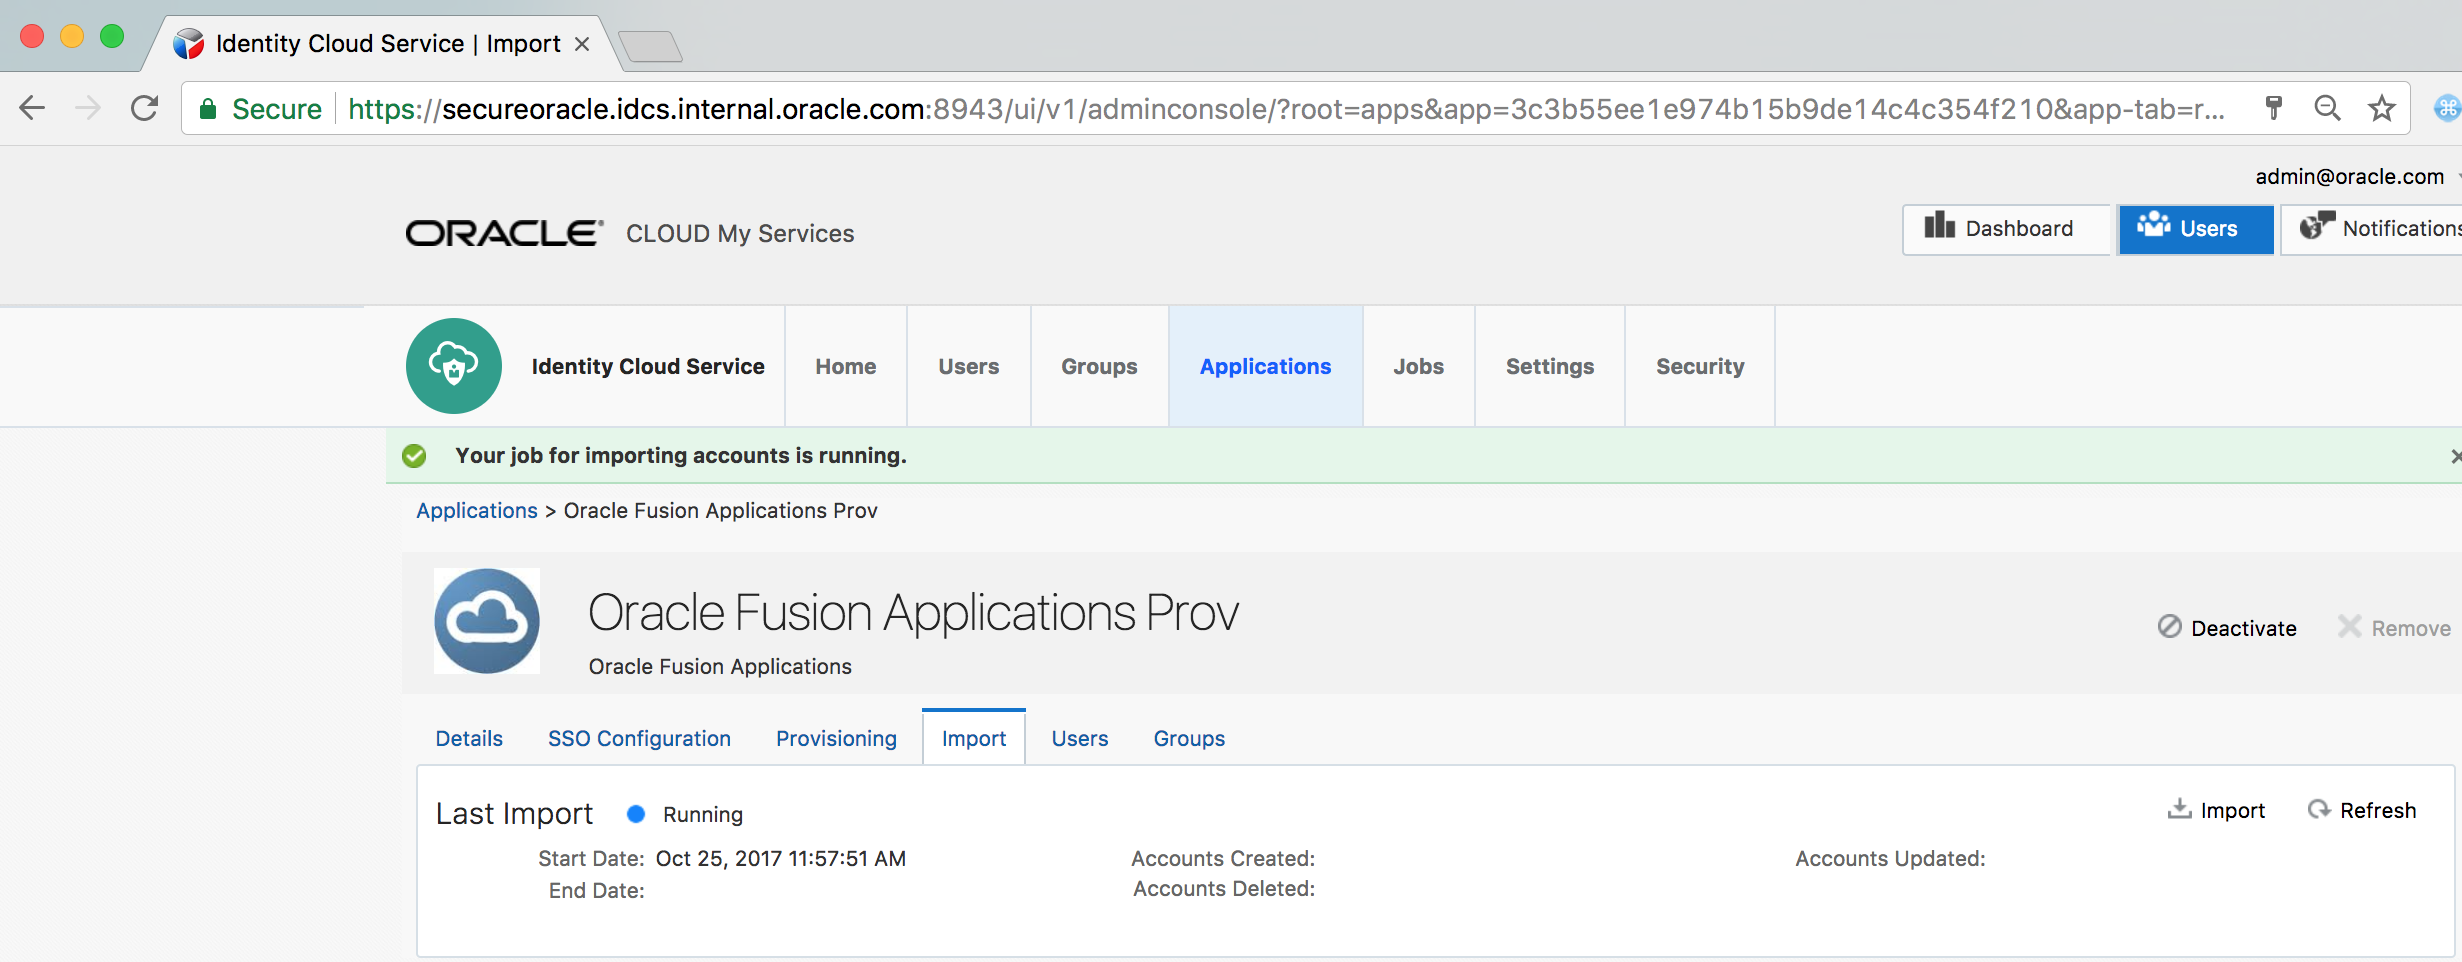
Go to the Import tab of the application
-
Click on the Import link. It will start the Import job.
-
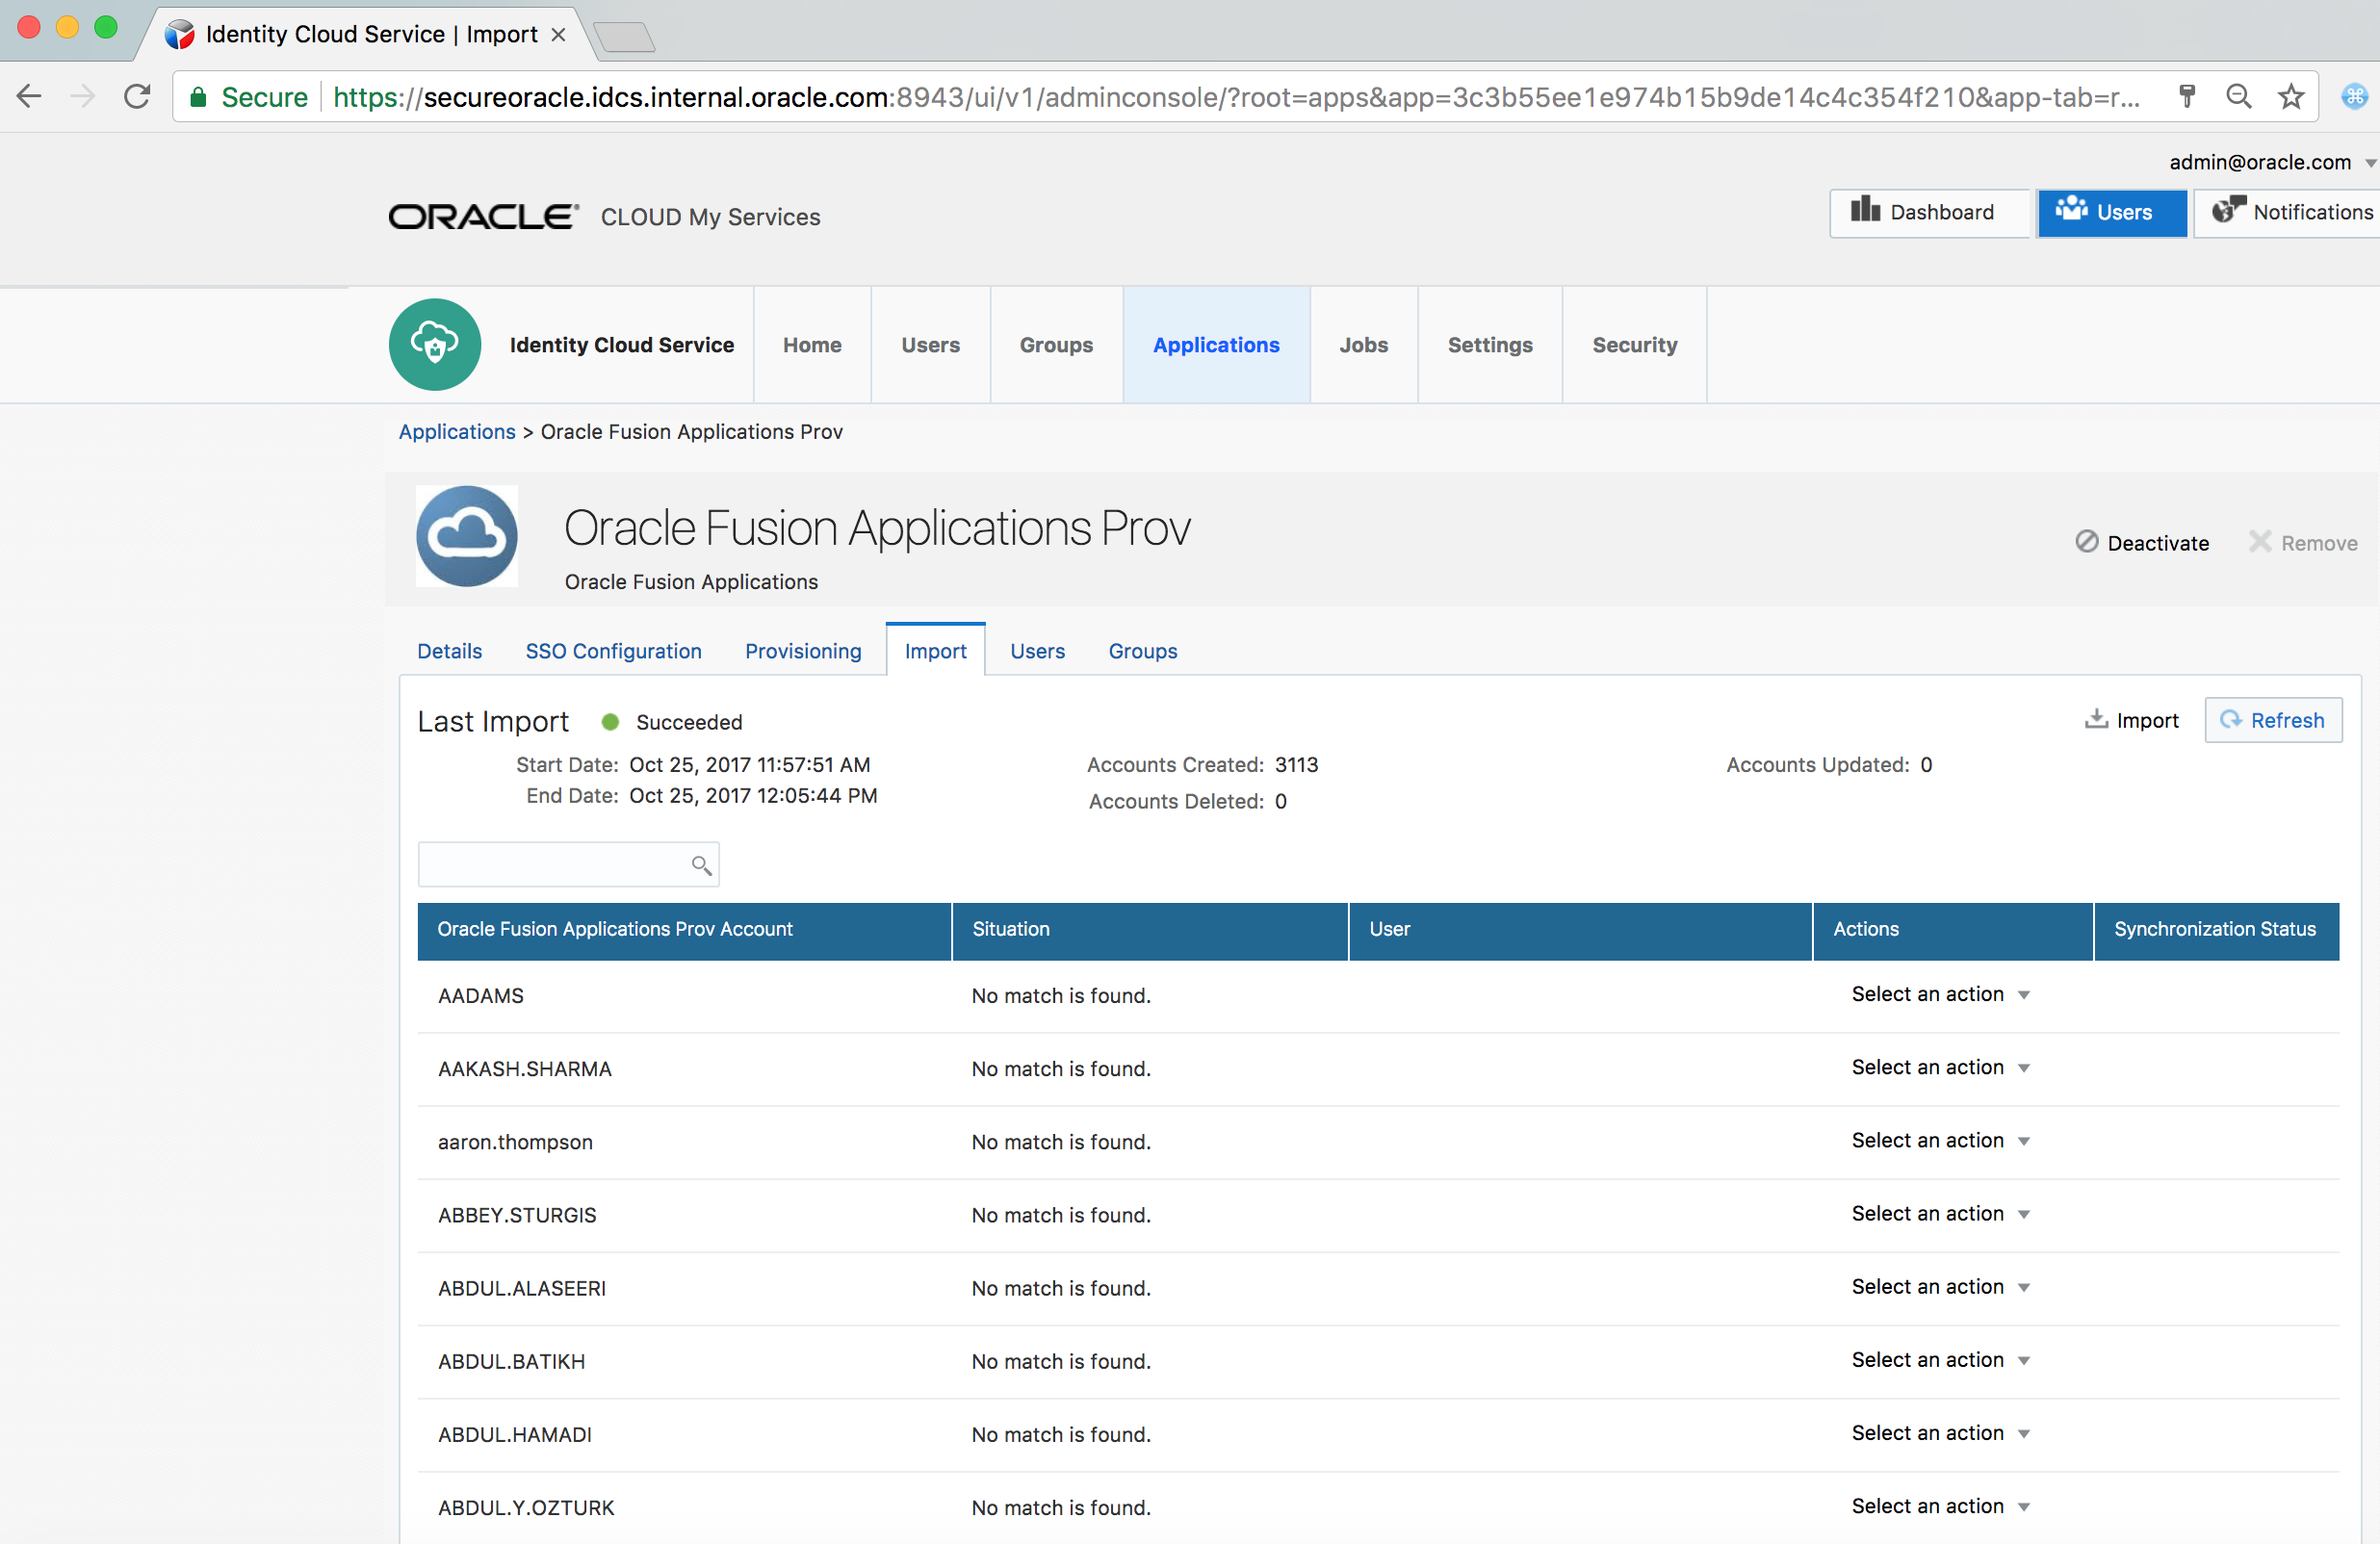
Refresh the page after a while
-
Verify that the job is completed and existing FA users have been imported and displayed on the page
-
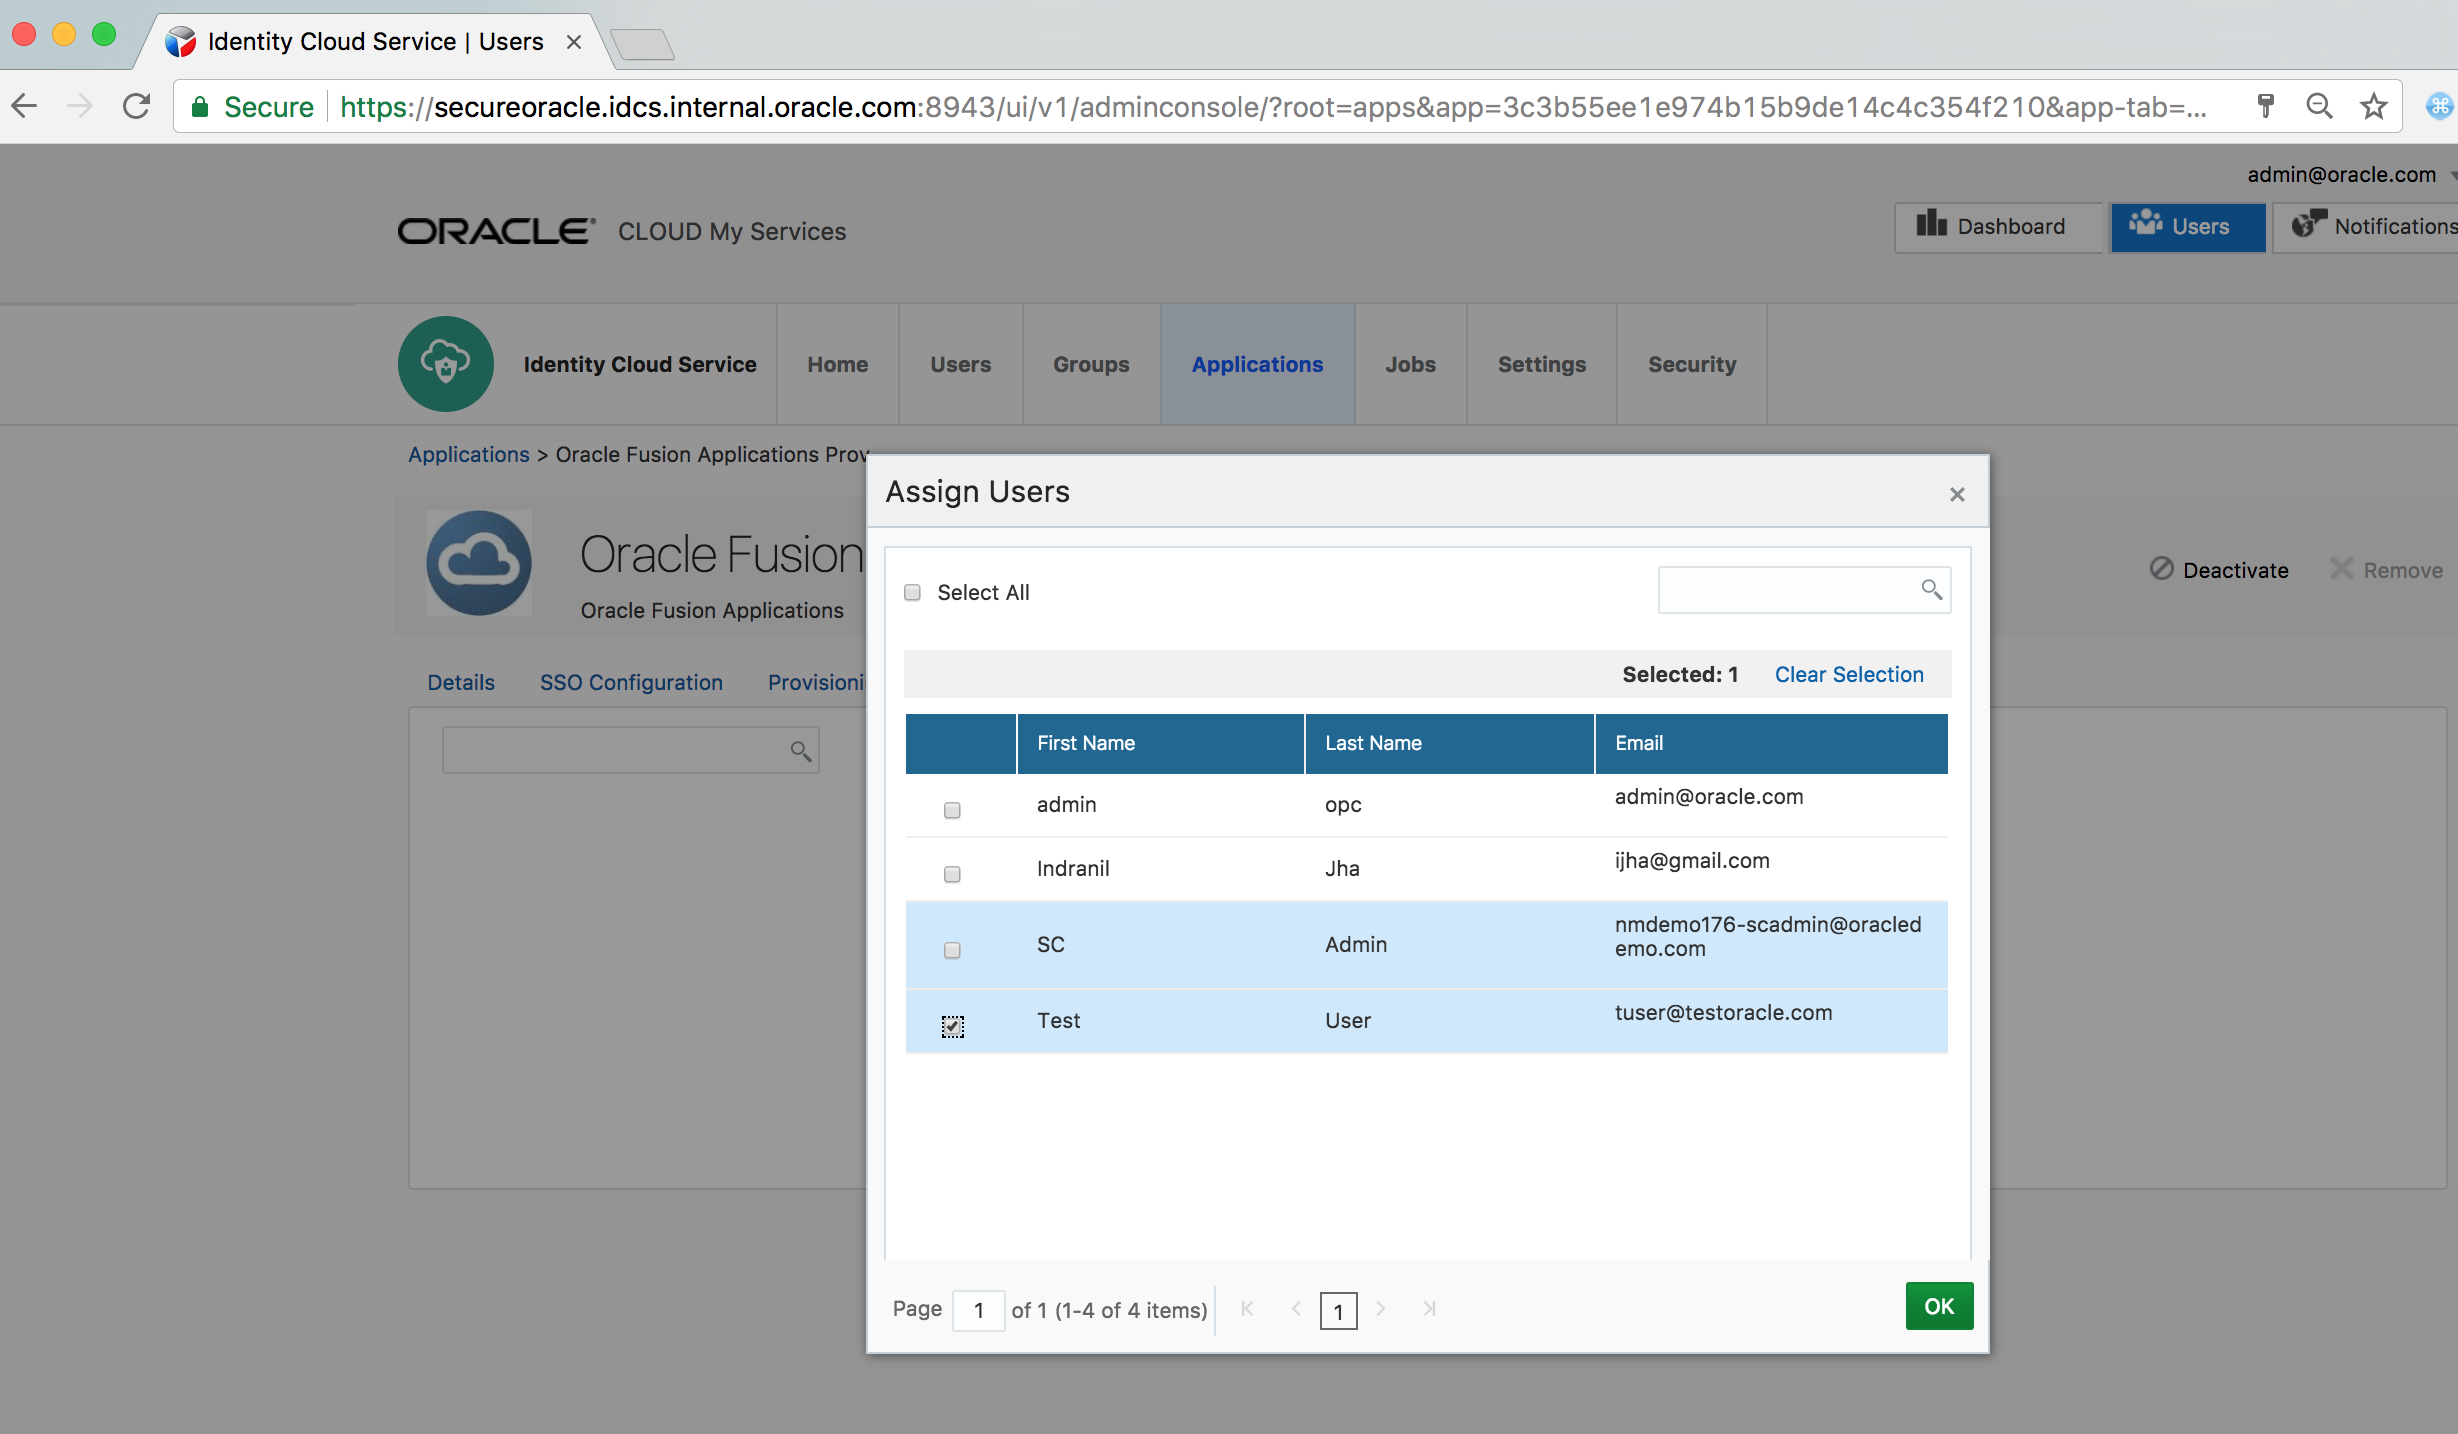
Go to the Users tab of the application and click on Assign
-
Select a user
-
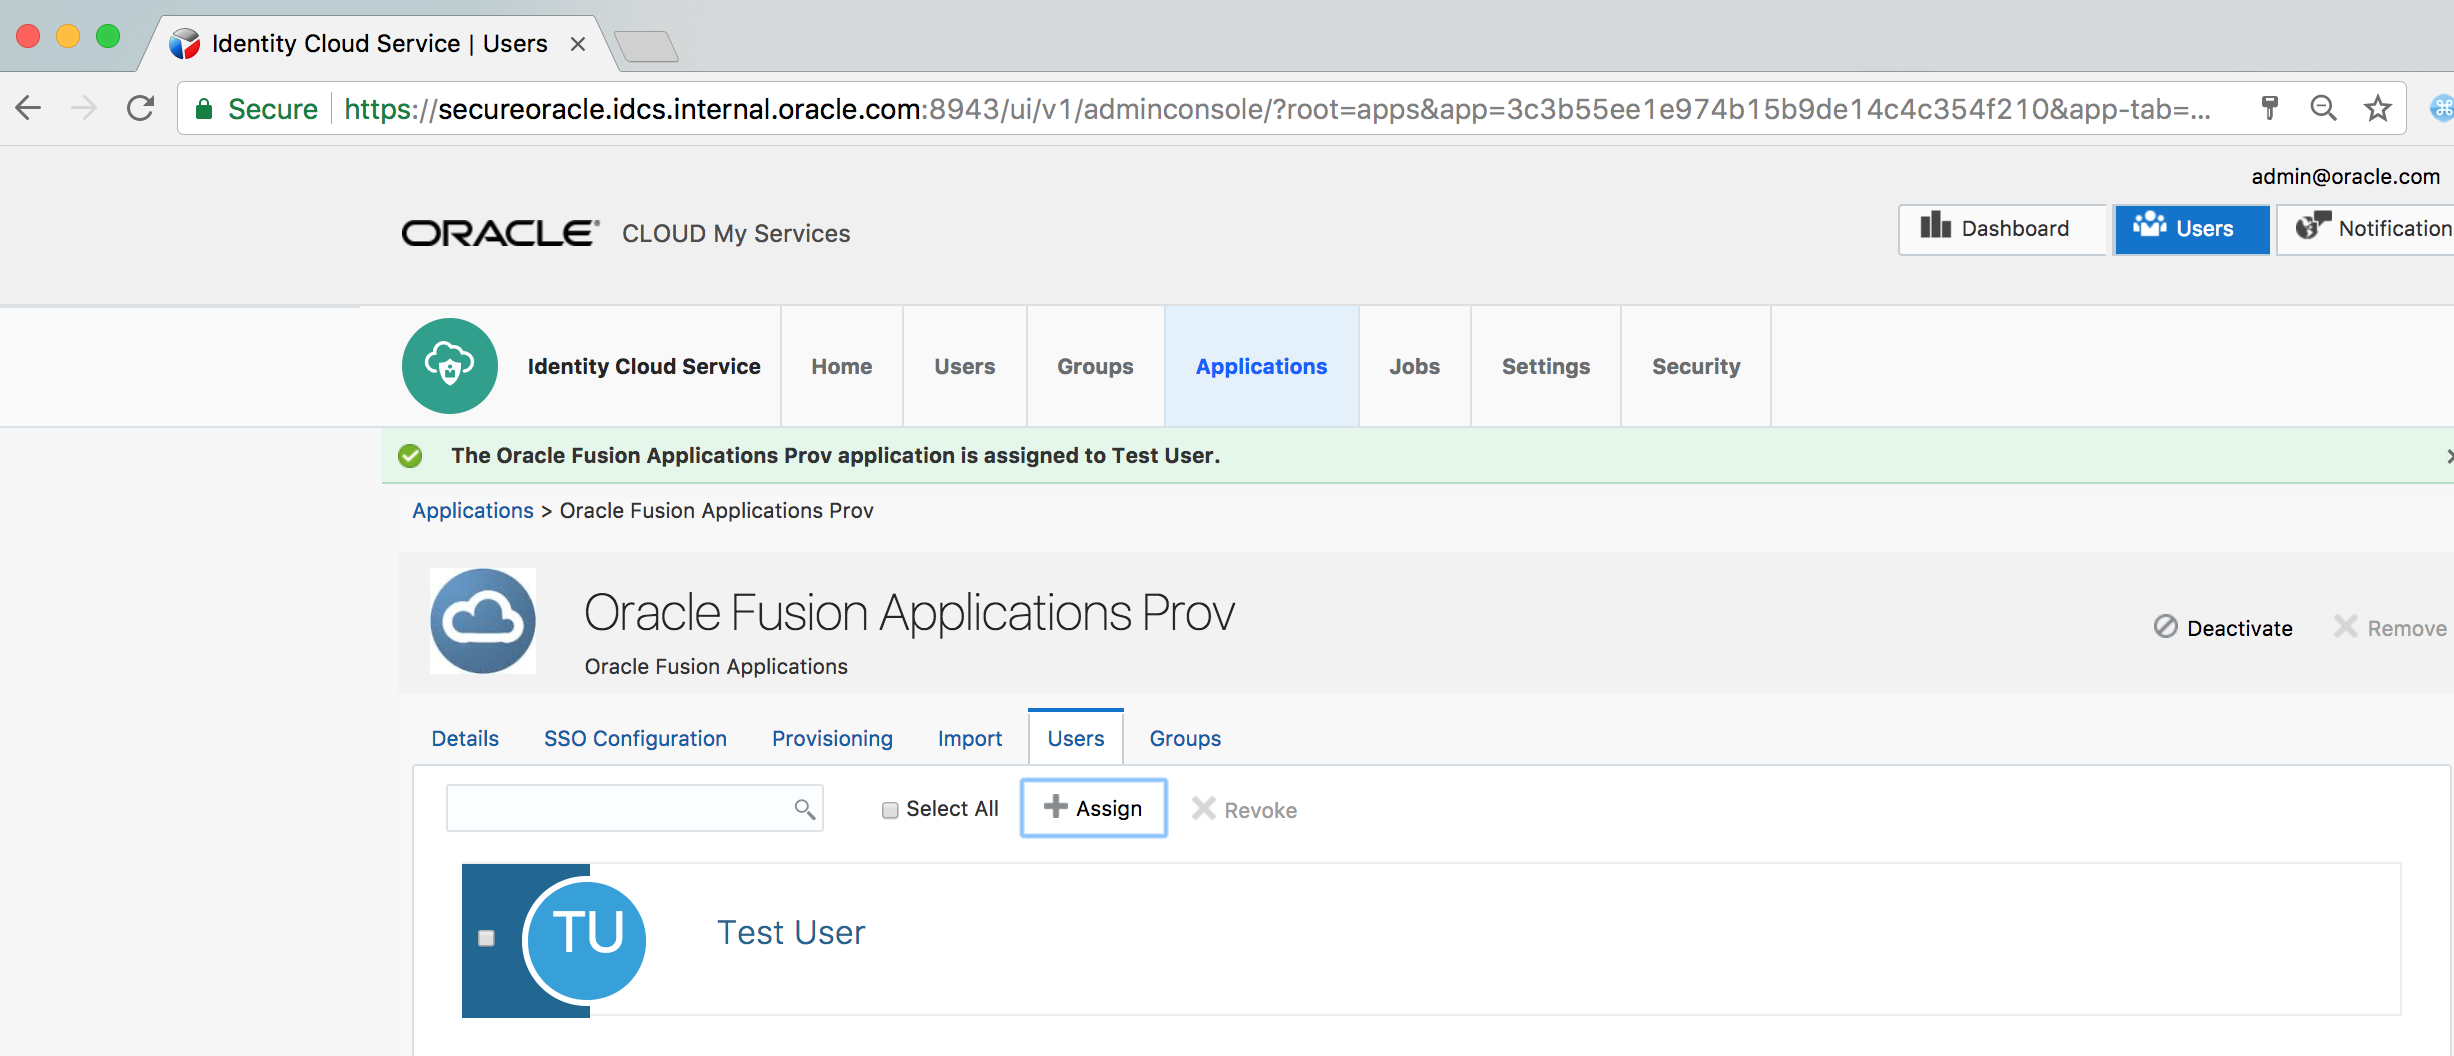
Verify that user is successfully assigned to the App
-
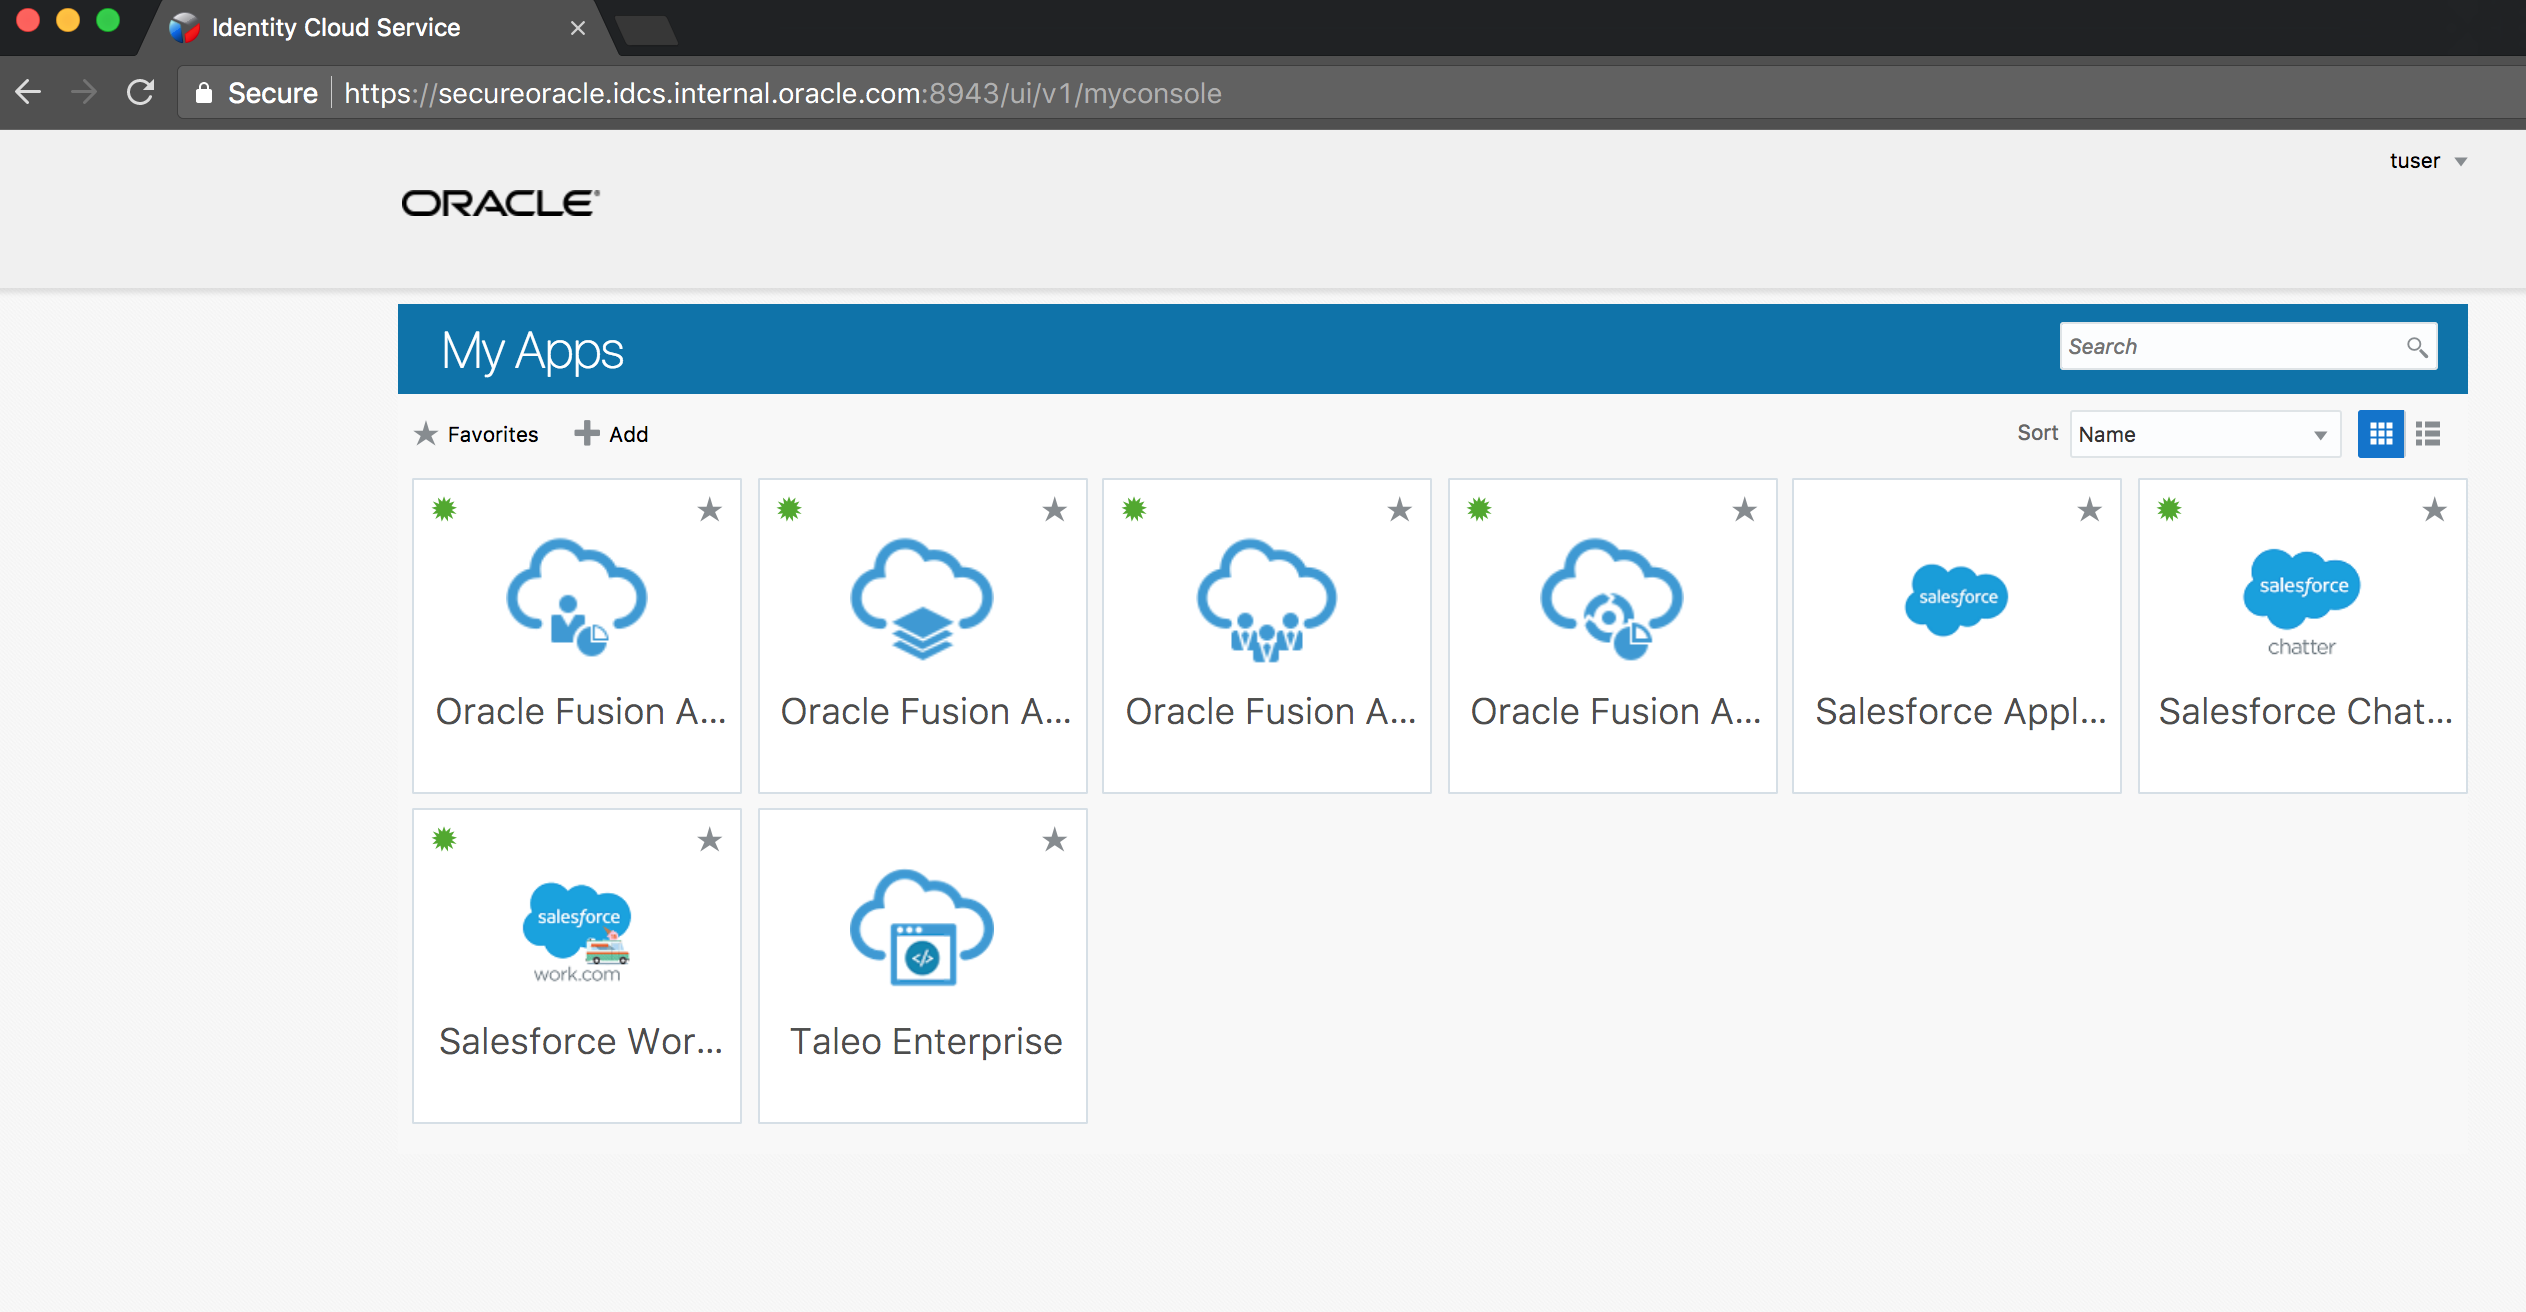
Go to an Incognito browser window and login to IDCS MyConsole using the assigned user’s credentials
-
Verify that the Fusion Applications are displayed there
-
Click on the Oracle Fusion Applications Prov HCM app
-
Verify SSO